
Leaving the house with your curls looking exactly right only to catch your reflection two hours later and wonder what happened is a specific kind of frustration. Every tutorial you followed was supposed to fix this. None of them did.
What most curl guides won’t tell you: the advice wasn’t built for your body. Techniques that work on a slim frame quietly fall apart on a plus-size one, because proportion changes everything how much volume works, where length should sit, which products actually help versus hurt.
This article fixes that. Starting with how to read your own proportions, then moving through the right cut, the right products, and the exact application steps that make curls look deliberate on your frame. No generic tips recycled from someone else’s tutorial. Just what actually works and why.
Your Curls Aren’t the Problem Your Approach Is Built for a Different Body

Most curly hair tutorials were not made with your body in mind. They were filmed on slim men or women and the proportions advice baked into those videos quietly falls apart on a plus-size frame. You followed the steps, used the products, and still walked out looking like your hair had its own agenda. That’s not a you problem. That’s a mismatch problem.
Curly hair has two jobs: follow its natural pattern, and work with your shape. Most guides only teach the first one.
Here’s what’s actually going wrong:
- The volume is landing in the wrong place. Tutorials that say “maximize your curl’s volume” were designed for narrow faces and slim frames. On a wider face, that volume adds width making your head look bigger, not better.
- The length advice doesn’t account for neck visibility. Recommendations to “grow it out for definition” ignore that a plus-size man with a shorter visible neck needs length to work vertically, not horizontally.
- The products are built for a different curl goal. Mousses and volumizing creams boost body. Your goal is definition and elongation two completely different targets.
Fix the approach, and your curls will follow.
The One Measurement That Changes Every Decision You Make About Your Hair
Most men think bad curl days come down to the wrong product. Switch the gel, try a new cream, maybe add a diffuser and still end up frustrated. The real problem is almost never the product. It’s proportion.
Specifically, it’s the ratio of width to height in your overall silhouette from the shoulders up.
Here’s what that actually means in the mirror:
- Face width vs. hair height: A wider face needs hair that grows up, not out. Volume on the sides pushes your face wider. Height through the crown balances it by drawing the eye upward instead.
- Neck visibility matters more than you think: If your neck isn’t very visible which is common for plus-size men hair that spreads outward at the sides shortens what little vertical line you have. A taper or fade that exposes even a half-inch more neck creates real elongation.
- Shoulder breadth sets the ceiling: Broader shoulders mean you can actually carry more height on top without looking top-heavy. That works in your favor use it.
Here’s the simple mirror test. Look straight ahead. If your hair is wider than your shoulders at any point, the shape is working against you. Height above the head is almost always safe. Width beyond the jaw almost never is.
One measurement. Every haircut decision flows from it.
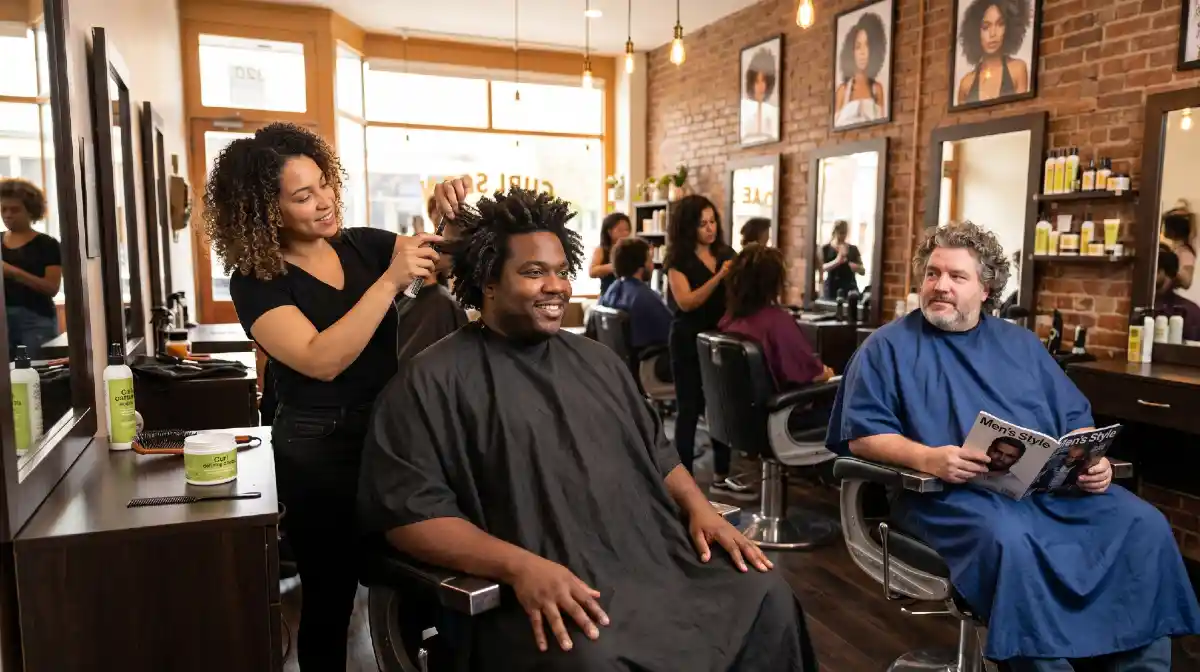
The Haircut Lengths That Work With Your Frame (And the Two to Avoid)
Knowing proportion is one thing. Walking into a barbershop and actually getting the right cut is another. Without specific language, you’ll leave with whatever the barber defaults to and that default is rarely built for your frame.
What works, and exactly how to ask for it.
Cuts that work for plus-size men with curly hair:
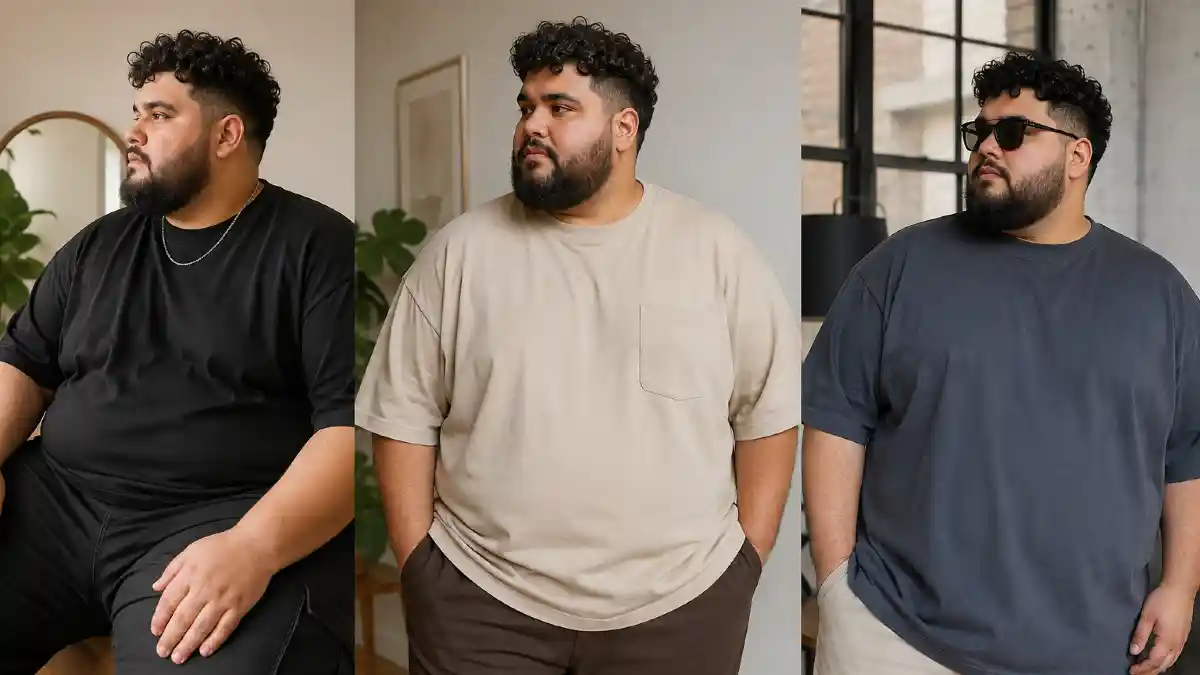
- Low skin fade with 2–3 inches of curl on top: Ask for a “low skin fade that starts just above the ear, keeping length on top for curl definition.” The fade removes width at the sides where you don’t want it while the length on top gives your curls room to build height. More neck shows. Face looks longer.
- Low taper with a defined shape-up: If a full fade feels too sharp, a low taper does the same job with less contrast. Ask for “a low taper with a clean shape-up at the hairline.” The shape-up squares off the edges slightly, making the overall style look intentional rather than grown-out.
The two lengths to avoid:
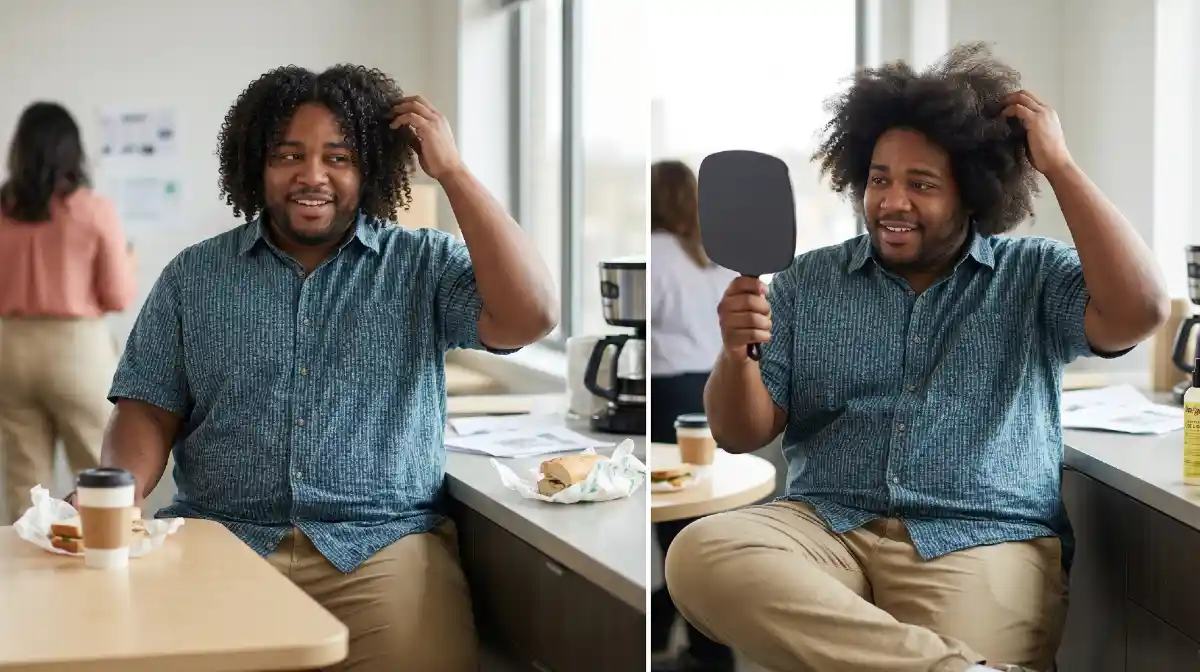
- Too short all over (buzz or low cut): Cutting everything down to the same short length removes the height advantage entirely. Without height on top, a wider face reads as round and flat the curl does nothing for you.
- Long, unshaped curls past the ears: Length without structure adds mass in every direction. That reads as big, not defined. If you want length, it needs a shape otherwise it works against your proportions.
Tell your barber the goal in one sentence: “I want height on top and tight sides fade or taper, low, with my neck clean.” That’s enough to get you 80% of the way there.
Why Your Curls Frizz Out by Noon And What’s Actually Causing It
Blaming the product is the first instinct. Buy a better gel, try a stronger hold, maybe switch brands and the frizz still shows up by lunchtime. Product is rarely the real problem. Technique is.
Somewhere between the shower and walking out the door, one of four things is going wrong.
Find your mistake:
- Touching your hair while it’s still wet: Every time your fingers run through wet curls, you’re breaking apart the curl clumps that hold definition. One pass feels harmless. By the time your hair dries, those broken clumps become a frizz halo. Apply product, scrunch once, and leave it alone.
- Skipping the leave-in conditioner: Gel alone seals nothing it just sits on top of dry, thirsty hair. A leave-in conditioner hydrates the curl first, giving the gel something to actually bond with. Without it, hold lasts maybe two hours before the curl opens up and frizzes.
- Applying products in the wrong order: The sequence matters. Leave-in first, curl cream second, gel last. Reversing any step means each product is fighting the one under it instead of working with it.
- Layering too many products: More is not better with curly hair especially on thicker or coarser curl patterns. Three heavy products piled on top of each other pill, flake, and weigh the curl down by midday. Stick to three steps maximum.
One of those four is your culprit. Fix that first then the right products will actually work.
The Only Three Products You Actually Need (Chosen for Definition, Not Volume)
Walk into any beauty aisle and you’ll find thirty curl products, all promising definition and hold. Half of them are built to maximize volume which is exactly what you don’t need. Bigger, puffier curls add width. Your goal is elongated, defined curls that hold their shape without expanding outward.
Three products. That’s it.
The routine:
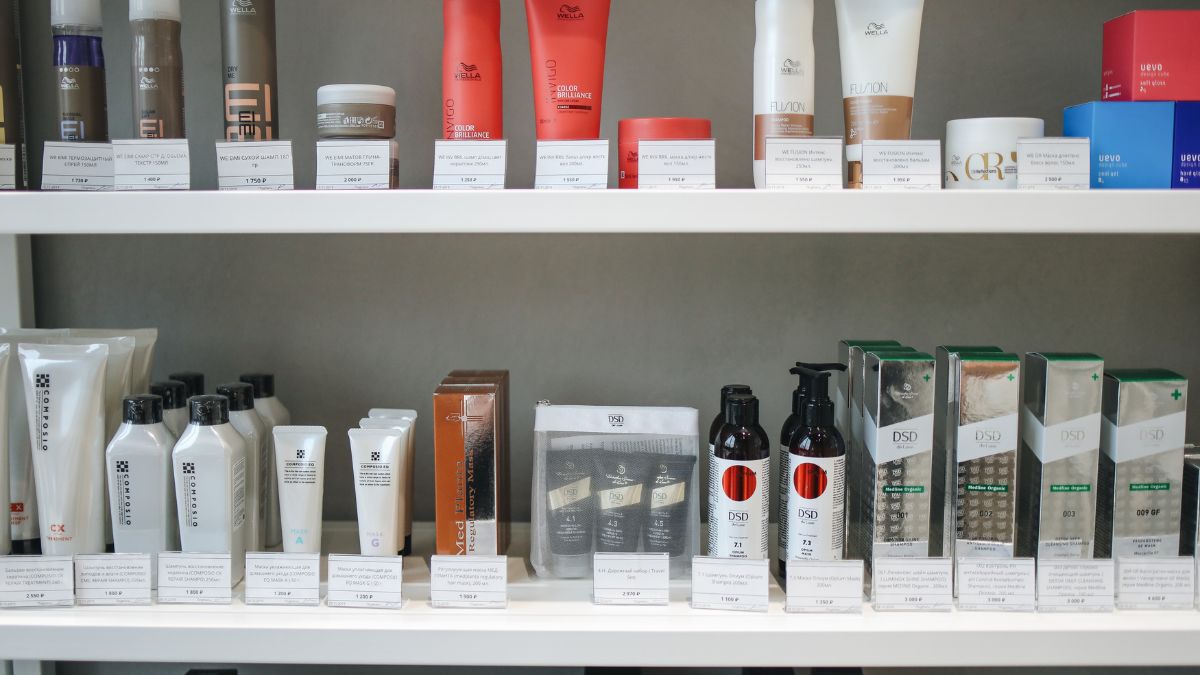
- Step 1 Leave-in conditioner (hydration base): This is not optional. Curls frizz when they’re dry, and dry curls expand sideways. A leave-in keeps each curl hydrated so it coils downward instead of outward. Look for labels that say “moisturizing” or “hydrating” — not “volumizing.” Good options: SheaMoisture Curl & Shine Leave-In, or Cantu Leave-In Conditioning Repair Cream.
- Step 2 Curl cream (definition layer): Cream defines the curl clump without inflating it. Avoid mousse and foam entirely both are designed to add body and lift, which pushes your curls wider. Look for “curl defining cream” or “curl elongating cream” on the label. Good options: Camille Rose Curl Maker, or Mielle Organics Pomegranate & Honey Curl Defining Custard.
- Step 3 Light hold gel (locking layer): Gel seals everything in place without the crunch as long as you use a light-hold formula, not a maximum-hold one. Heavy gels leave residue that flakes on thicker curl patterns. Look for “flexible hold” or “anti-frizz” on the label. Good options: Eco Styler Olive Oil Gel (small amount), or Kinky-Curly Curling Custard.
Skip the waxes, skip the pomades, skip anything labeled “texture paste.” Those flatten and coat they don’t define.
The Application Method That Makes Curls Look Styled, Not Stringy
Right products, wrong technique and you still end up with stringy, separated clumps or a frizz cloud by noon. Technique is where most men lose the result they should be getting. Follow these steps in order, and don’t skip ahead.
The exact application sequence:
- Start at 80% dry, not soaking wet: Applying product to dripping hair dilutes everything immediately. Towel blot don’t rub until your hair feels damp but not dripping. Rubbing with a towel roughens the curl cuticle and creates frizz before you’ve even started.
- Distribute leave-in with open palms, section by section: Pour a 50-cent coin amount into your palm, rub hands together, then press into the hair from underneath. Working section by section makes sure every curl gets coated not just the top layer.
- Apply curl cream using the “prayer hands” technique: This one matters for thicker and denser curl patterns. Place a small amount of cream between both palms, then press your hands together around a section of hair like a slow clap and slide downward. This smooths the cuticle and groups curls together without breaking the clump apart the way raking with fingers does.
- Scrunch gel upward, don’t rake it down: Take a small amount of gel, scrunch it up into the curl from the ends toward the root. Raking pulls curls into thin, stringy strips. Scrunching keeps the clump intact and lets the gel set around the natural curl shape.
Drying this is where most men ruin it:
Air-dry or diffuse on low heat. Never shake your hair out or run your hands through it while drying even once. Wait until your hair is completely dry and the gel cast feels crunchy, then scrunch it gently with your palms to break the cast. That scrunch at the end releases soft, defined curls. Do it too early, and the definition collapses.
How to Refresh Your Style on Day Two Without Starting Over
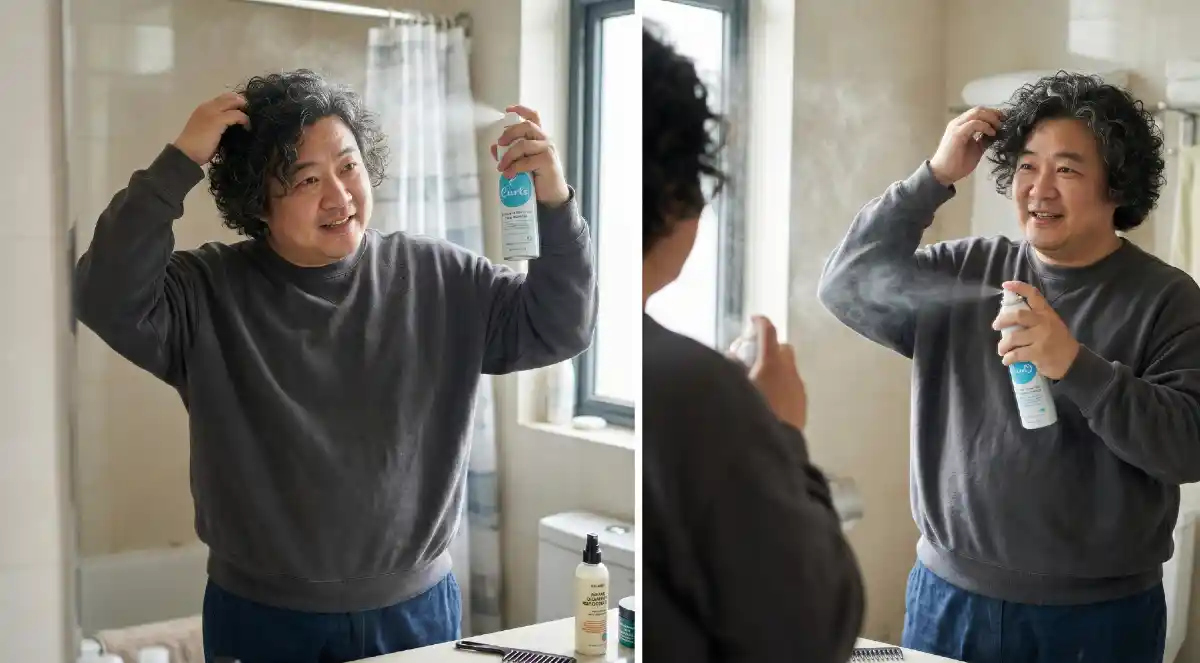
Most men see day-two curls and assume the only fix is a full wash and restart. That’s the wrong assumption and it’s also why the routine feels exhausting and unsustainable. Day-two curls just need reactivation, not a reset. The whole process should take under five minutes.
The day-two refresh routine:
- Mist first, touch second: Fill a spray bottle with either plain water or a 50/50 mix of water and your leave-in conditioner. Spray lightly and evenly over the hair not soaking, just enough to make the curl feel damp again. This reactivates the gel cast that’s still sitting in your hair from yesterday.
- Scrunch upward to wake the curl back up: Once the hair is lightly misted, scrunch sections upward with your palm the same motion from day one. Dried curls have memory. A little moisture and pressure brings the clump shape back without adding new product.
- Spot-fix with curl cream only where needed: Look for flat or frizzy sections specifically. Apply a pea-sized amount of curl cream to those areas only, scrunch in, and leave it. Applying cream everywhere on day two overloads the hair and makes it look greasy by afternoon.
If you slept on it and one side is crushed:
Mist that side more heavily, scrunch firmly, then let it air-dry for two minutes before touching it again. Trying to reshape a crushed section while it’s still dry just breaks the curl further.
No hat required.
What a Finished, Proportionate Curl Style Actually Looks Like on Your Frame
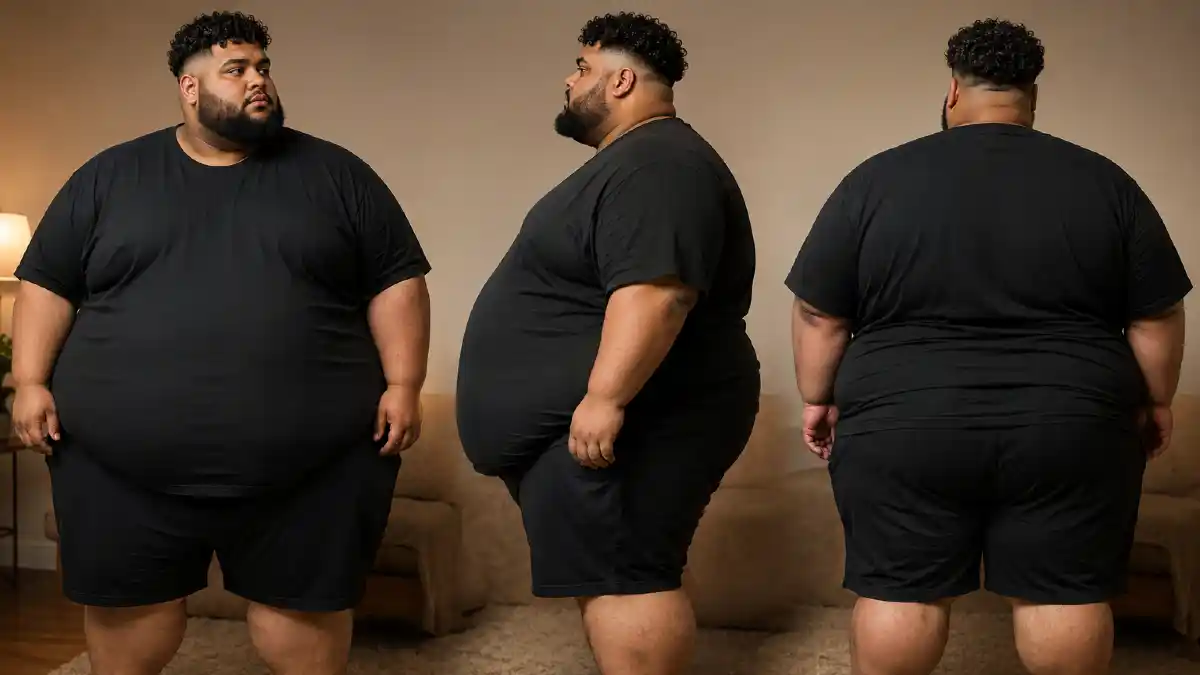
“Controlled” is the word most men fixate on and it leads them toward styles that are stiff, flat, or overdone. Controlled doesn’t mean rigid. Your curls should still move when you turn your head. What changes is that every curl moves with intention, not chaos.
Exactly what you’re looking for in the mirror when the style is working:
The visual checklist:
- Height through the crown, not width at the sides: Curl clusters should stack upward from the top of the head. The silhouette from the front should be taller than it is wide that ratio is what balances a broader face and shorter neck.
- Clean lines where the hair ends: A visible taper or fade at the sides means the style has a clear boundary. No blurry edges, no hair gradually disappearing into the neck. Clean lines make the whole style read as intentional.
- Defined curl clumps, no halo frizz: Individual curls should be grouped together in visible clusters not separated into thin strings, and not surrounded by a cloud of frizz at the edges. Run your eyes around the outline of your hair. If the edges are soft and fuzzy, the style isn’t finished yet.
- A shape that narrows toward the jaw: The widest point of your hair should be at the crown, not level with your ears or jaw. Width at ear-level broadens the face. Width at the crown draws the eye up.
Deliberate is the whole goal. Not perfect. Not stiff. Just a style that looks like you chose it because now you did.
Hello there! I’m Jesse Joe, the author and editor behind SolganGenius. I’m thrilled you’ve stopped by, and I can’t wait to share with you the essence of what this platform is all about.
I’m a writer, social media enthusiast, and a firm believer in the power of words. I’ve always been fascinated by how a simple phrase or slogan can capture an emotion, convey a message, and even change perspectives. Learn More