

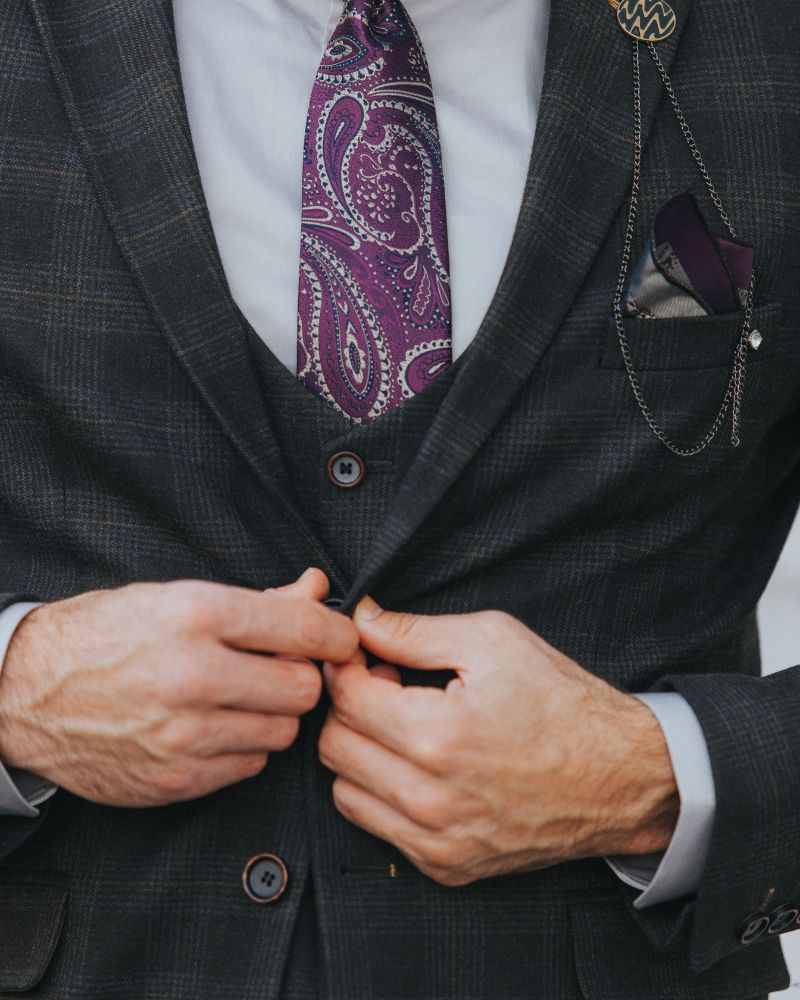
A bigger chest isn’t a flaw to disguise. It’s structure most men spend years trying to fake with padded shoulders and tailoring tricks. You already have the frame premium ties were built for wider lapels, fuller knots, more presence at the collar.
The problem was never your size. It was sizing charts that quietly assumed everyone fits one mold. Plus-size men’s outfit trends are finally catching up to that truth. The width, the length, the knot none of it is guesswork once you know the real rules.
Why Standard Tie Sizing Charts Don’t Account for Your Build
Most tie length charts are built around a 5’10” man with a 32-34 inch waist. That’s it. Brands rarely test for anything else.
So when you buy a “standard” 57-inch tie, you’re not getting a true middle ground. You’re getting a length designed for a body type that may not match yours at all. A bigger chest pushes the knot up and out. A larger waist adds inches your tie still needs to cover before it reaches the buckle.
This creates a gap most men never notice until the tie ends up sitting two inches too high. Here’s what actually changes the math for you:
- A wider chest adds visible distance between your collar and the knot
- A fuller midsection means more length is needed just to reach the belt
- Height isn’t the only factor brands use, but it’s often the only one they account for
None of this means your body is the problem. It means the sizing system was never built with your proportions in mind. Once you accept that, picking the right tie stops being about taste. It becomes about measurements that actually apply to you.
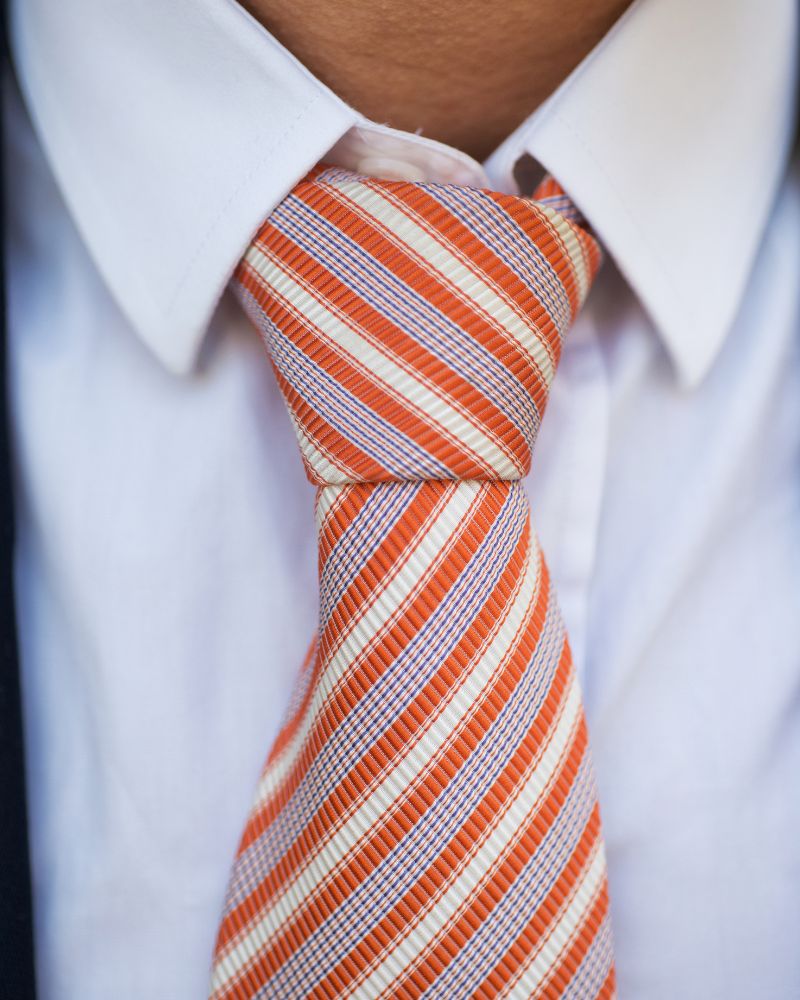
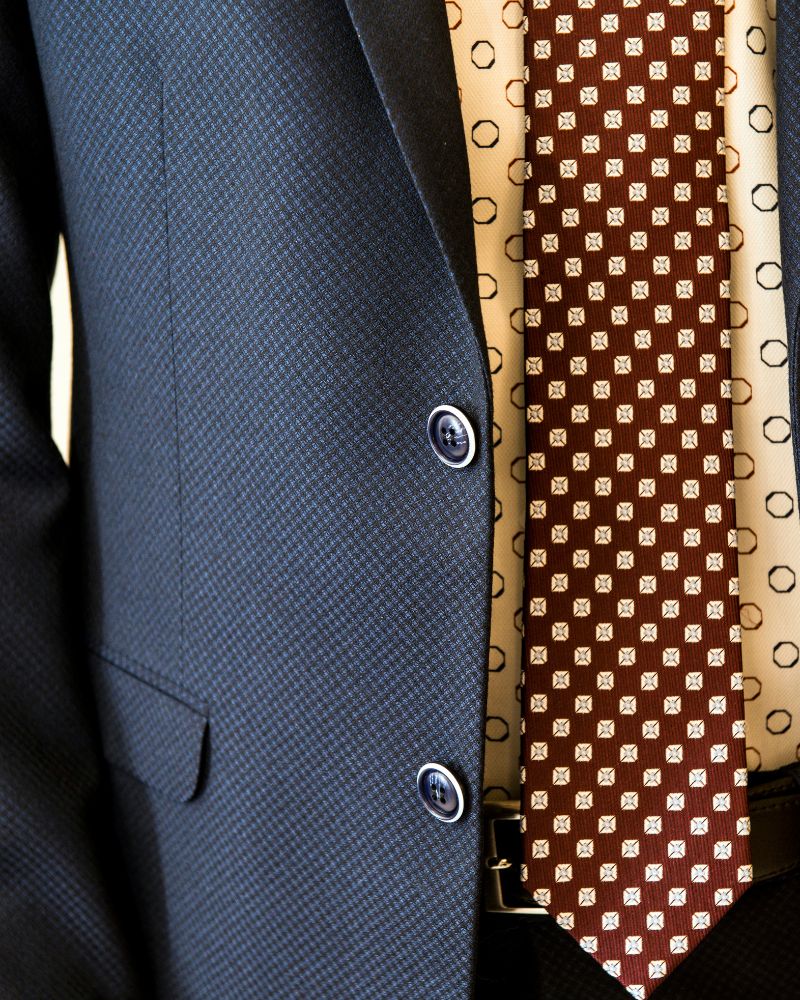
Tie Width: Matching Blade Size to Chest and Lapel Width, Not Just Trend
A skinny tie on a wide chest doesn’t slim you down. It just looks too small for your frame, like a kid’s belt on an adult.
Width should match your lapel, not the season’s trend. Thin lapels paired with a wide tie look bulky. Wide lapels paired with a thin tie look unfinished. Your chest size usually dictates which lapel width suits you, so the tie follows from there.
Simple way to match the two:
| Chest Size | Lapel Width | Tie Width |
|---|---|---|
| Up to 46″ | 3″ – 3.25″ | 3″ – 3.25″ |
| 46″ – 50″ | 3.25″ – 3.5″ | 3.25″ – 3.5″ |
| 50″+ | 3.5″ – 3.75″ | 3.5″ – 3.75″ |
Bigger frames generally look more balanced in the 3.5 to 3.75 inch range. Anything thinner gets visually lost against a broad chest. Anything wider can start to look outdated rather than bold.
Check your jacket lapel before buying any tie. If you don’t own a jacket yet, measure your chest at its widest point instead. That single number tells you almost everything you need to know about which width will actually work for you.
Tie Length: Why You Likely Need a Long or Extra-Long Tie

A standard 57-inch tie often stops at your belly, not your buckle. That gap is the easiest sign a tie doesn’t fit you.
The tip of your tie should land right at the center of your belt buckle. Higher means the tie is too short. Lower means it’s too long, which looks just as sloppy. For most plus size men, getting that landing spot right means skipping the standard rack entirely.
Here’s how length needs typically shift:
| Height | Build | Recommended Tie Length |
|---|---|---|
| Under 5’9″ | Larger midsection | 58″ – 59″ |
| 5’9″ – 6’1″ | Larger midsection | 59″ – 61″ |
| 6’1″+ | Any build | 61″ – 63″ |
Notice that height alone doesn’t decide this. A shorter man with a fuller waist still needs extra length, because the tie has to travel further around the body before it even starts heading down. Width around the middle eats up length you’d otherwise use to reach the buckle.
Always try the tie tied, not just measured flat against your shirt. Buckle position only tells the truth once the knot is actually done.
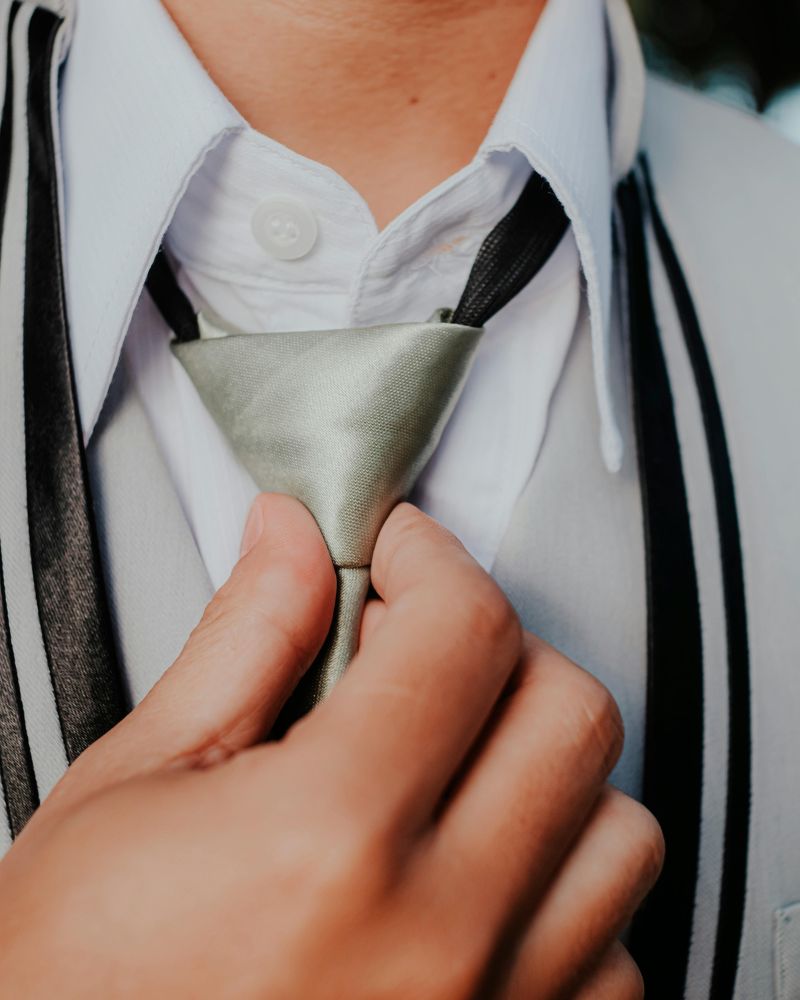
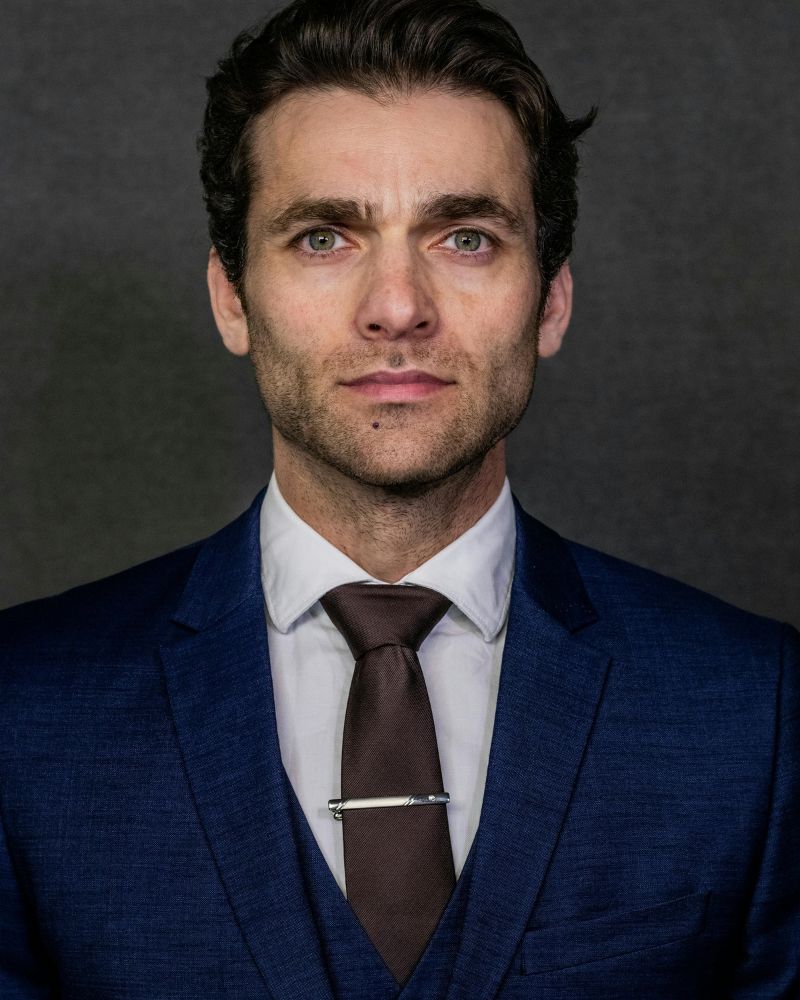
The Knot Mistake That Makes a Big Frame Look Bigger

Most plus size men pick the smallest knot they can tie, thinking it will look less bulky. It actually does the opposite.
A tiny Four-in-Hand knot on a wide collar leaves empty space on both sides. That gap draws the eye straight to your neck, which is usually the area men want attention away from. Skinny knots were designed for narrow collars and slim builds, not for a fuller face or a broader neck.
A fuller knot fills that space and creates balance instead of bulk. Here’s how the common knots compare:
| Knot | Best For | Effect on Bigger Frame |
|---|---|---|
| Four-in-Hand | Narrow collars | Looks too small, leaves gaps |
| Half-Windsor | Medium to wide collars | Balanced, most reliable choice |
| Full Windsor | Wide spread collars | Fills space well, looks intentional |
Symmetry matters more than size here. A Half-Windsor or Full Windsor sits wider and fills the collar gap evenly on both sides. That evenness is what reads as sharp, not the knot’s actual size.
Try this test: button your collar without a tie. If you see space on either side of where the knot would sit, a small knot will always look wrong there. Build the knot to match that space, not to hide from it.
Matching Knot Size to Collar Spread (Not the Other Way Around)
Most men choose their knot first and hope the collar cooperates. That order is backwards.
Your collar should be the first decision, based on your face and neck shape. A round or fuller face usually looks more balanced with a spread collar, since it creates a longer line down the neck instead of widening it further. A narrow point collar on a fuller face tends to do the opposite, making the face look rounder by contrast.
Once the collar is set, the knot just needs to fill it correctly:
- Spread or cutaway collar: pair with a Half-Windsor or Full Windsor
- Point or semi-spread collar: pair with a Four-in-Hand
- Button-down collar: pair with a smaller Four-in-Hand only
Here’s a quick gap test you can run before buying anything. Button your shirt collar with no tie on. Look at the space between the two collar points. Wide space means you need a wider knot. Narrow space means a smaller knot will actually sit better.
Skipping this step is why so many ties look slightly off, even expensive ones. The tie isn’t the problem most of the time. The mismatch between collar and knot usually is.
Dimple Placement and Tie Drape: The Detail That Signals Fit, Not Size
A single dent under the knot does more for your look than almost any other detail. It costs nothing and takes five extra seconds.
That dent is called a dimple, and it signals the tie was tied with care rather than rushed. Bigger frames benefit from this detail more than anyone, since it draws the eye to a clean focal point instead of letting attention drift to the width of the chest below.
Two things matter here:
- The dimple should sit centered, directly under the knot
- The tie should lie flat against your chest, not bow outward or curve to one side
A tie that bows outward usually means the lining is too heavy for the fabric, or the knot was tied too loosely. Either way, it pulls the tie away from your body and makes it look like it’s fighting your frame instead of working with it.
To form the dimple, pinch the fabric just below the knot as you tighten the final pull. Hold the pinch until the knot is snug. This isn’t about hiding size. It’s about showing intention, and intention reads as confidence on any build.
How to Check Tie Proportions in 30 Seconds Before Buying
Three checks tell you everything before you ever swipe a card. No app needed, no tailor required.
Stand in front of a mirror with the tie tied the way you actually wear it. Knot first, then look at the full picture instead of just the fabric.
Run through these in order:
- Tip check: does it land at the center of your belt buckle?
- Width check: does the blade roughly match your lapel width, or your chest if you’re not wearing a jacket?
- Gap check: does the knot fill the space between your collar points evenly, with no visible gaps on either side?
If all three pass, the tie works. If even one fails, no pattern or fabric quality will fix it.
Shopping online makes this trickier, since you can’t try before buying. Measure a tie you already own that fits well, then compare those numbers against the listing before ordering anything new. Keep those measurements saved on your phone. Pull them up every time you shop, and guessing stops being part of the process entirely.
Hello there! I’m Jesse Joe, the author and editor behind SolganGenius. I’m thrilled you’ve stopped by, and I can’t wait to share with you the essence of what this platform is all about.
I’m a writer, social media enthusiast, and a firm believer in the power of words. I’ve always been fascinated by how a simple phrase or slogan can capture an emotion, convey a message, and even change perspectives. Learn More