

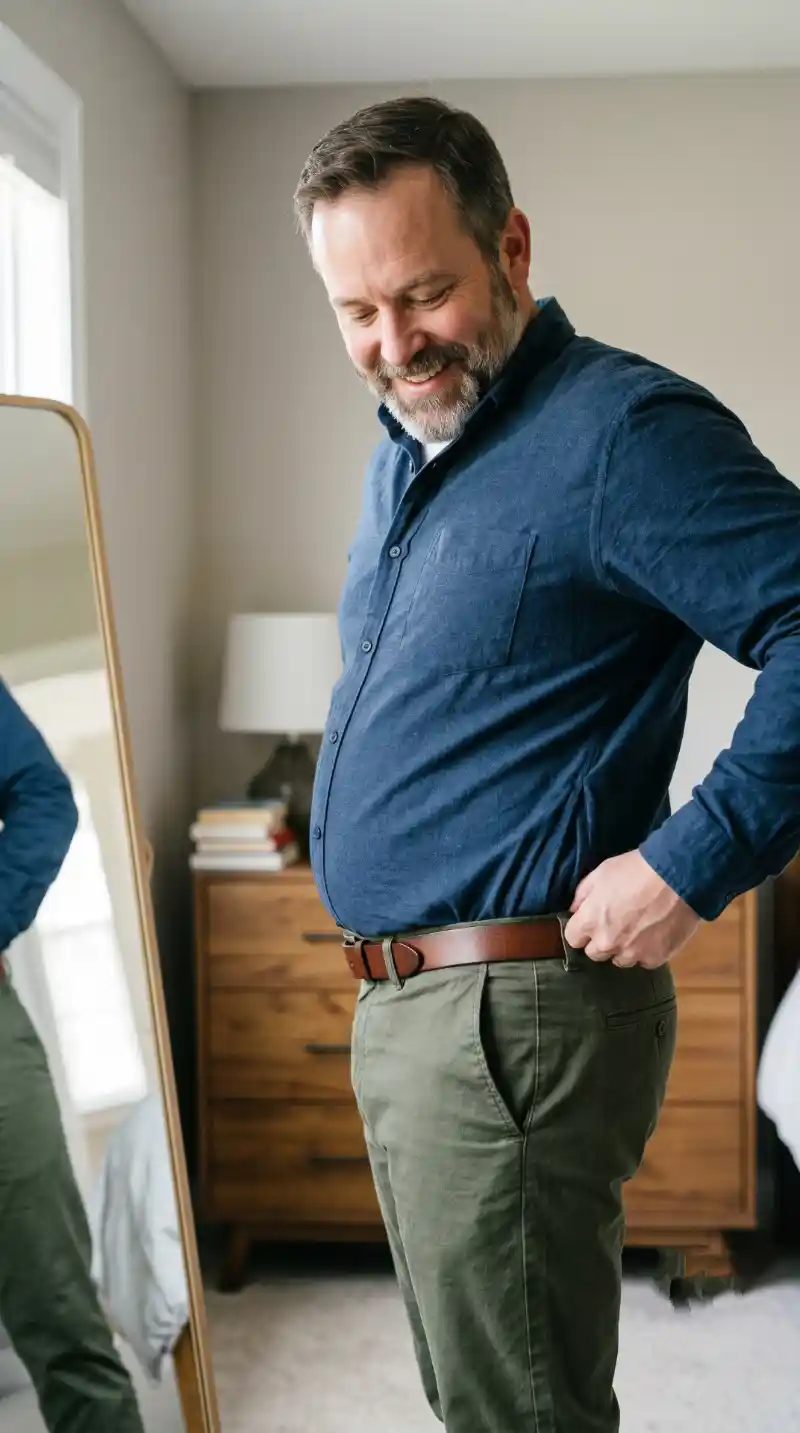
Most guys think hiding a large gut means leaving their shirts untucked forever. That is simply dead wrong. An oversized tee flapping in the breeze actually draws much more attention to the exact area you are actively trying to conceal. Tucking it in adds instant shape.
The real problem is that nobody ever taught big men how to do this without the fabric bunching up and making us look completely stuffed. It takes deliberate strategy.
Getting the perfect drape requires a very specific technique with both your belt and pants. Exact method for locking everything down smoothly.
The Problem Isn’t Your Belly — It’s That Nobody Taught You To Tuck For Your Body Type
This isn’t a body problem. It’s a technique gap and one that most clothing guides quietly skip because they’re written for men who don’t need to think hard about tucking.
Two things create the sausage effect, and understanding both changes everything:
- Bunching: Excess fabric folds over itself inside the waistband and pushes outward, adding visible bulk right at your widest point instead of smoothing over it.
- Riding out: The tuck is too shallow or the shirt hem too short, so normal movement sitting, reaching, walking slowly pulls everything loose until you’re half-untucked by midday.
Both feel like body failures. They’re not. Slim guys pull off sloppy tucks all the time because their shirts have less fabric fighting them. Your shirt has more to manage, which means the gap between a bad tuck and a good one is wider but that gap closes fast once you know exactly what you’re fixing.
Stop Buying Bigger Shirts — That’s Making the Sausage Effect Worse
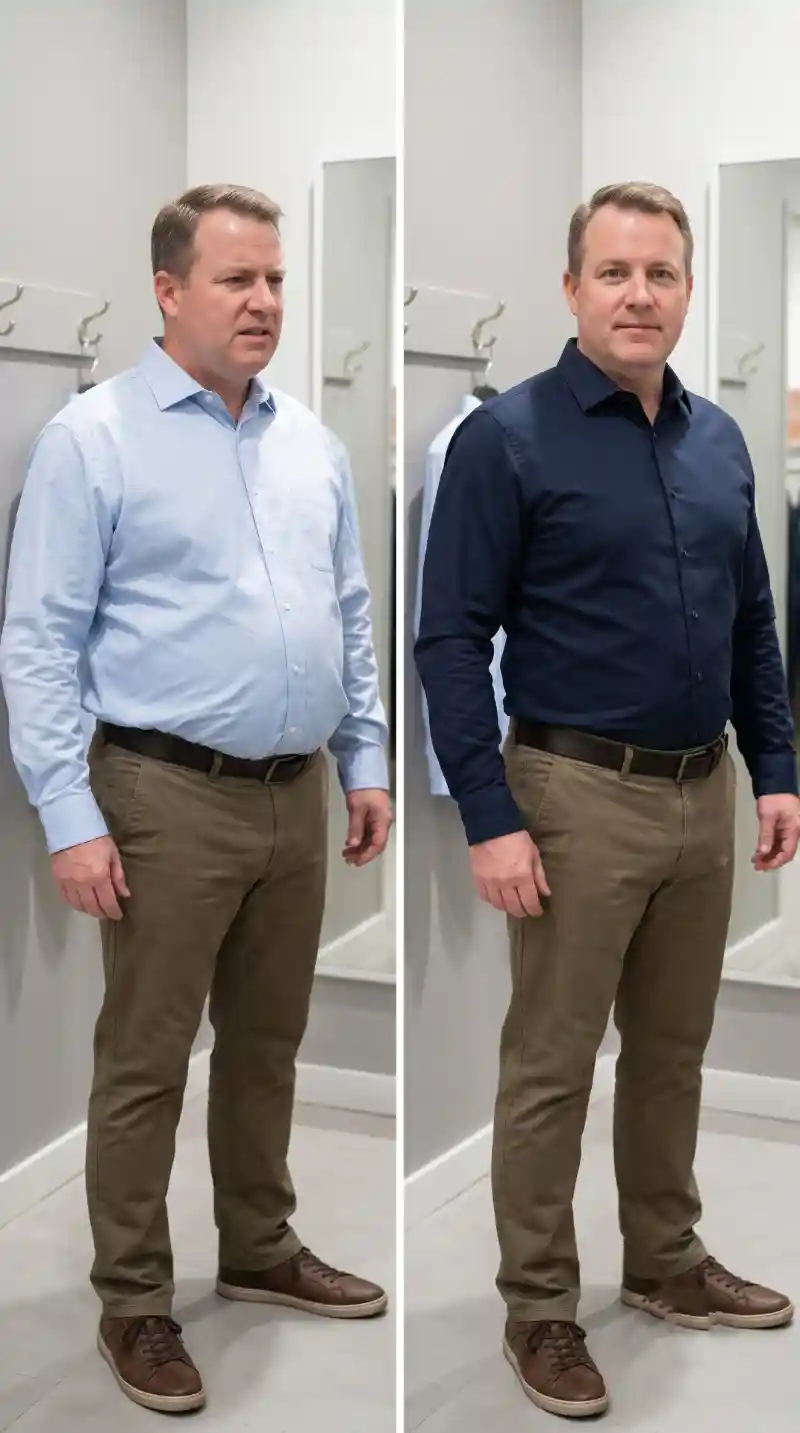
Grabbing the next size up feels like the safe play. More fabric should mean more coverage but what it actually does is create loose material that bunches inside your waistband and pushes outward, making your midsection look larger than it is. Going too tight is just as bad. Both extremes lose.
The right shirt for tucking hits three specific marks:
- Longer shirt tail: The hem needs to sit at least 3–4 inches below your waistband. Short hems don’t have enough fabric to anchor and ride out with any movement.
- Straight cut, not tapered: Tapered shirts narrow at the waist by design, which means they’re already working against your body shape before you even tuck. A straight or “relaxed” cut runs a more even line from chest to hip, giving you even fabric to work with.
- Medium-weight fabric: Thin, soft materials bunch and wrinkle easily once tucked in. Structured cotton or a poplin weave holds its shape better through a full day of wear.
Fit does more work than technique. Even the cleanest tuck method falls apart in a shirt that wasn’t built for your body.
The Military Tuck, Step by Step: How to Get a Clean, Flat Line Across Your Waist

Most men tuck by grabbing the shirt and shoving it straight down into the waistband. That creates the bunching. You’re pushing folds of fabric in all different directions with no system behind it. The military tuck fixes this by flattening excess fabric against your body before anything goes in, so there’s nothing left to bunch once it’s tucked.
The exact sequence:
- Pull the shirt hem down first. Stand tall and tug the entire hem downward to remove any slack. Skipping this means you’re tucking over wrinkles that were already there.
- Fold the side excess back, not forward. At each hip, grab the side seam and fold the extra fabric straight back toward your spine, creating a flat panel. Folding it forward instead adds bulk right at the front.
- Tuck the sides in before the front. Push the folded panels into the waistband starting at each hip. Never tuck the front panel first. Doing so locks in whatever unevenness is already sitting there.
- Smooth down, then lift your pants. Run both hands flat from chest to waist, then pull your pants up slightly to grip the tuck in place.
Sitting shifts everything. Do a standing check before you walk out.
Your Tuck Comes Undone Every Time You Sit — Here’s How To Lock It In All Day
A well-executed military tuck will still drift loose by midday. Movement sitting, bending, reaching creates constant upward pull on the shirt hem, and without something holding it down, the fabric slowly wins.
Shirt stays are elastic straps that clip to your shirt hem and fasten to your socks, keeping constant downward tension on the shirt. They’re the most reliable fix available. For a larger midsection, a Y-shape or stirrup style works better than a basic clip-to-sock strap these distribute tension more evenly and don’t create an uncomfortable pull at a single point.
If accessories aren’t your preference, the deep anchor technique works as a solid backup:
- After your military tuck, push an extra inch of fabric deeper into the waistband than normal the extra depth creates more resistance against the shirt pulling free
- Pull your waistband up slightly higher than usual before fastening, which compresses the tuck from above
- Wear your belt one notch firmer than comfortable to add resistance at the top
Neither method is invisible. Using stays means a brief adjustment on bathroom trips. The deep anchor adds slight bulk at the waistband. Pick what works for your day.
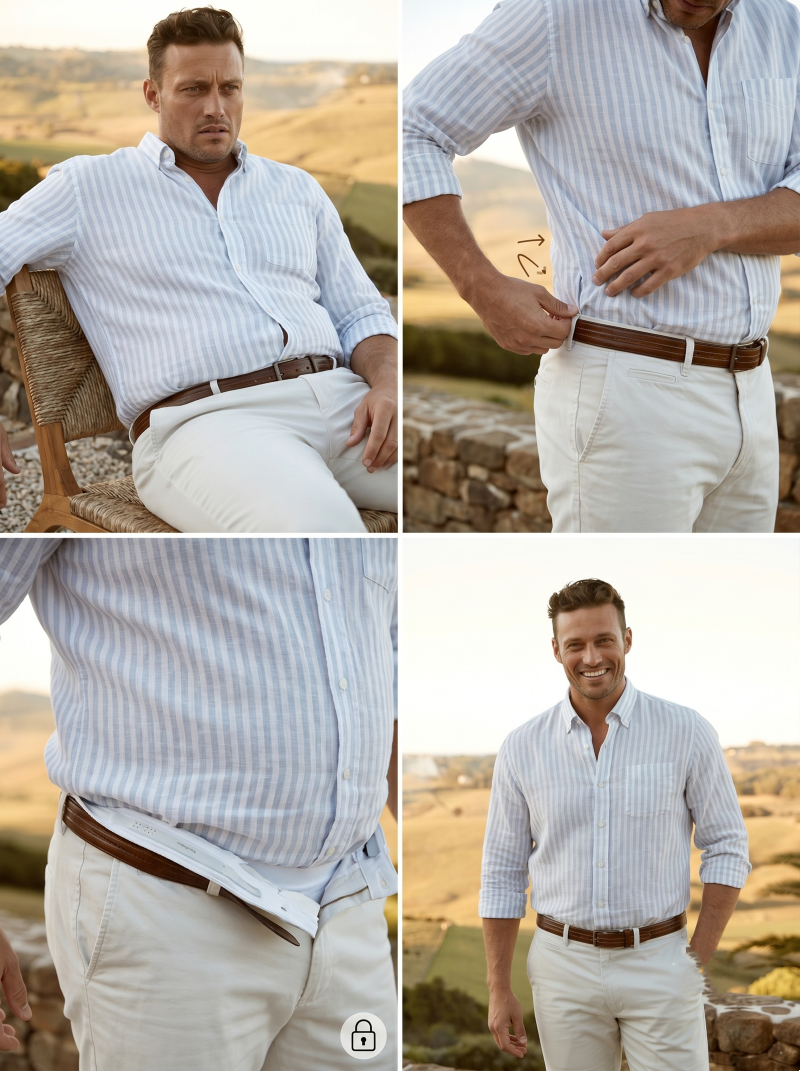
How Your Pants And Belt Placement Either Complete The Look Or Destroy It
Low-rise pants undo a perfect tuck. When the waistband sits below your natural waist, your belly has nowhere to go except over the top and no technique on earth fixes overhang that’s sitting above the waistband.
Wide belts make it worse. A belt wider than 1.5 inches draws a horizontal line directly across your midsection, framing the widest point rather than passing over it.
Here’s what to adjust:
- Pants: Choose mid-rise or high-rise trousers that sit at or just below your natural waist. This keeps the belly behind the waistband rather than spilling over it. Avoid slim-tapered cuts they fight your proportions from hip to ankle.
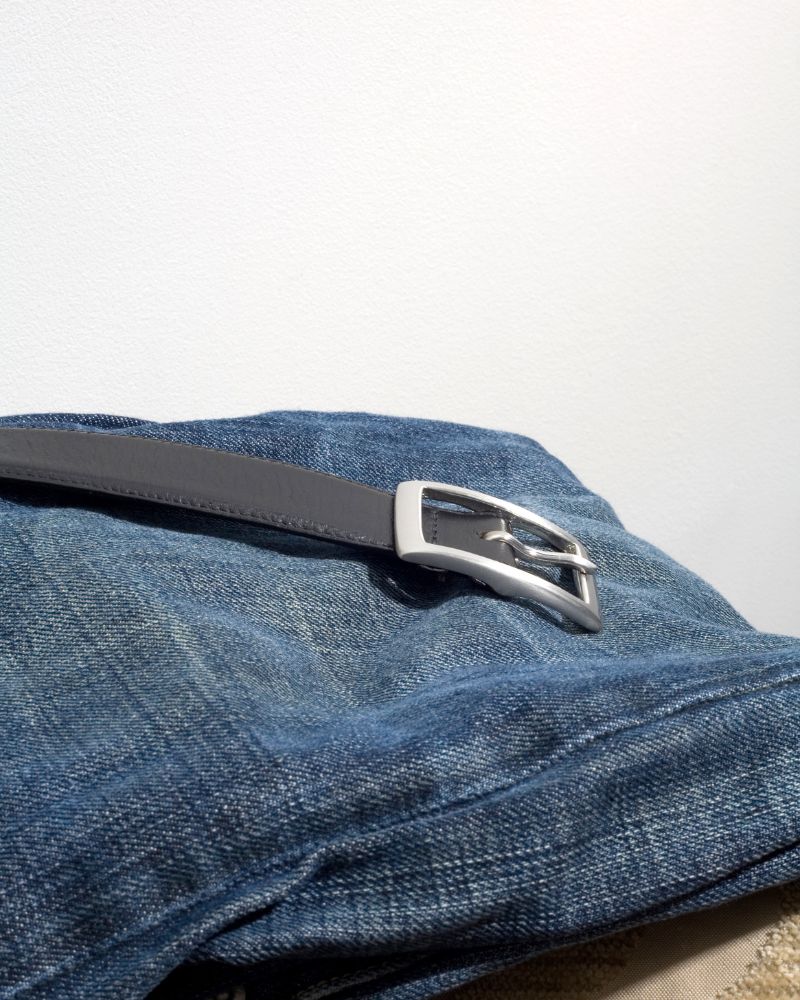
- Belt: Stay at 1.5 inches wide or narrower. Keep the buckle flat and small; large buckles act as a spotlight aimed directly at the midsection.
- Order of operations: Tuck first, then fasten your pants as high as they’ll comfortably sit, then add the belt. That sequence locks the tuck before anything tightens around it.
Position matters as much as style. Wearing the belt too low creates a shelf where the belly rests on top of it worn at the natural waist, it sits level with the tuck line and the whole thing reads as intentional rather than strained.
The One Layer That Does More Work Than Any Tucking Technique You’ll Ever Learn

An open blazer changes the visual geometry of your body in a way no tuck can. The two open front panels create long vertical lines that draw the eye up and down rather than across, which immediately reduces how wide the midsection reads. Any minor bunching, waistband unevenness, or imperfect fold disappears behind the lapels.
Unstructured sport coats and casual jackets work just as well as a formal blazer. What matters: keep it hanging open. Buttoning it defeats the purpose entirely by pulling fabric directly across the widest point.
Three things make it work on a larger frame:
- Dark, solid color: Busy patterns and light colors add visual weight. Navy, charcoal, and black let the eye slide past rather than stop.
- Shoulder fit first: A blazer that fits across the shoulder drapes correctly over the rest of your body. One that’s too narrow there will pull and bunch worse than wearing nothing at all.
- Hip-length hem: Anything hitting at or just below the hip covers the waistband area entirely, which is where most tuck imperfections live.
Half-tucks don’t work here. Skip it. Leaving part of the shirt deliberately untucked reads as intentional on slimmer frames for a larger midsection, it looks like the tuck simply came undone.
The 60-Second Mirror Check That Tells You Whether Your Tuck Is Actually Working
Most men only check the front. That’s the first mistake. The side view is where a tuck actually fails bunching, overhang, and waistband gaps all appear there before they show up head-on.
Run through these three positions before you leave:
Front:
- Fabric should lie flat from chest to waist with no horizontal stress lines pulling across the belly
- Your belt buckle should sit centered and level tilting means the tuck is uneven on one side
- No extra fabric should be bunching above the waistband
Side:
- Stand sideways and look for fabric pushing out behind the hip this is the first place a tuck loses its shape
- Check that the hem disappears cleanly into the waistband without folding over or sitting above it
Seated:
- Sit down fully and look in the mirror if the shirt rides above the waistband or pulls loose at the front, the tuck is either too shallow or you need shirt stays
- Rising back to standing, check whether the sides have pulled free
Each problem has a fix. Bunching at the hip means the fold wasn’t flat before you tucked. Riding out when seated points to a shallow anchor. Pulling at the front means the tuck is uneven go back to the side-seam fold and start that step again.
Hello there! I’m Jesse Joe, the author and editor behind SolganGenius. I’m thrilled you’ve stopped by, and I can’t wait to share with you the essence of what this platform is all about.
I’m a writer, social media enthusiast, and a firm believer in the power of words. I’ve always been fascinated by how a simple phrase or slogan can capture an emotion, convey a message, and even change perspectives. Learn More