
The shirt looks right on the hanger, then the buttons start pulling when you sit down. A pair of jeans says your usual waist, but the thighs feel tight and the waistband rolls under your stomach. It gets old fast.
Real measuring fixes more than size confusion. This guide shows you where to place the tape for your neck, chest, belly, waist, seat, thigh, sleeves, and inseam, so you stop guessing between big, tall, relaxed, and regular fits. You will learn how to measure the body you have now, then use those numbers to buy clothes that actually work better.
Start With the Clothes Problem You Actually Have, Not the Size Tag
Size tags lie more than you think. The real fit answer starts with the spot where your clothes fail first, because that spot is usually what decides the size you need. One brand’s 3XL may skim your belly, while another 3XL may cling, twist, or ride up when you sit. That is not your body being wrong. It is the cut.
For shirts, the belly often matters most, especially if your chest fits but the buttons pull across the middle. Pants need a different check. Look at the seat and thighs before you trust the waist number, because tight fabric there will make walking, sitting, and pocket placement feel wrong.
Jackets start at the shoulders. If the shoulder seam sits too far in or hangs too low, the whole jacket looks off even when it closes. Before measuring, name the problem first: belly pull, tight thigh, low crotch, short sleeve, or shoulder drag. Then take the number that answers that problem.
Measurement Cheat Sheet for Plus Size Men
| What to Measure | Where to Measure | Why It Matters |
|---|---|---|
| Neck | Around the base of the neck | Helps dress shirts button without choking |
| Chest | Around the fullest chest area | Stops shirts from pulling across the upper body |
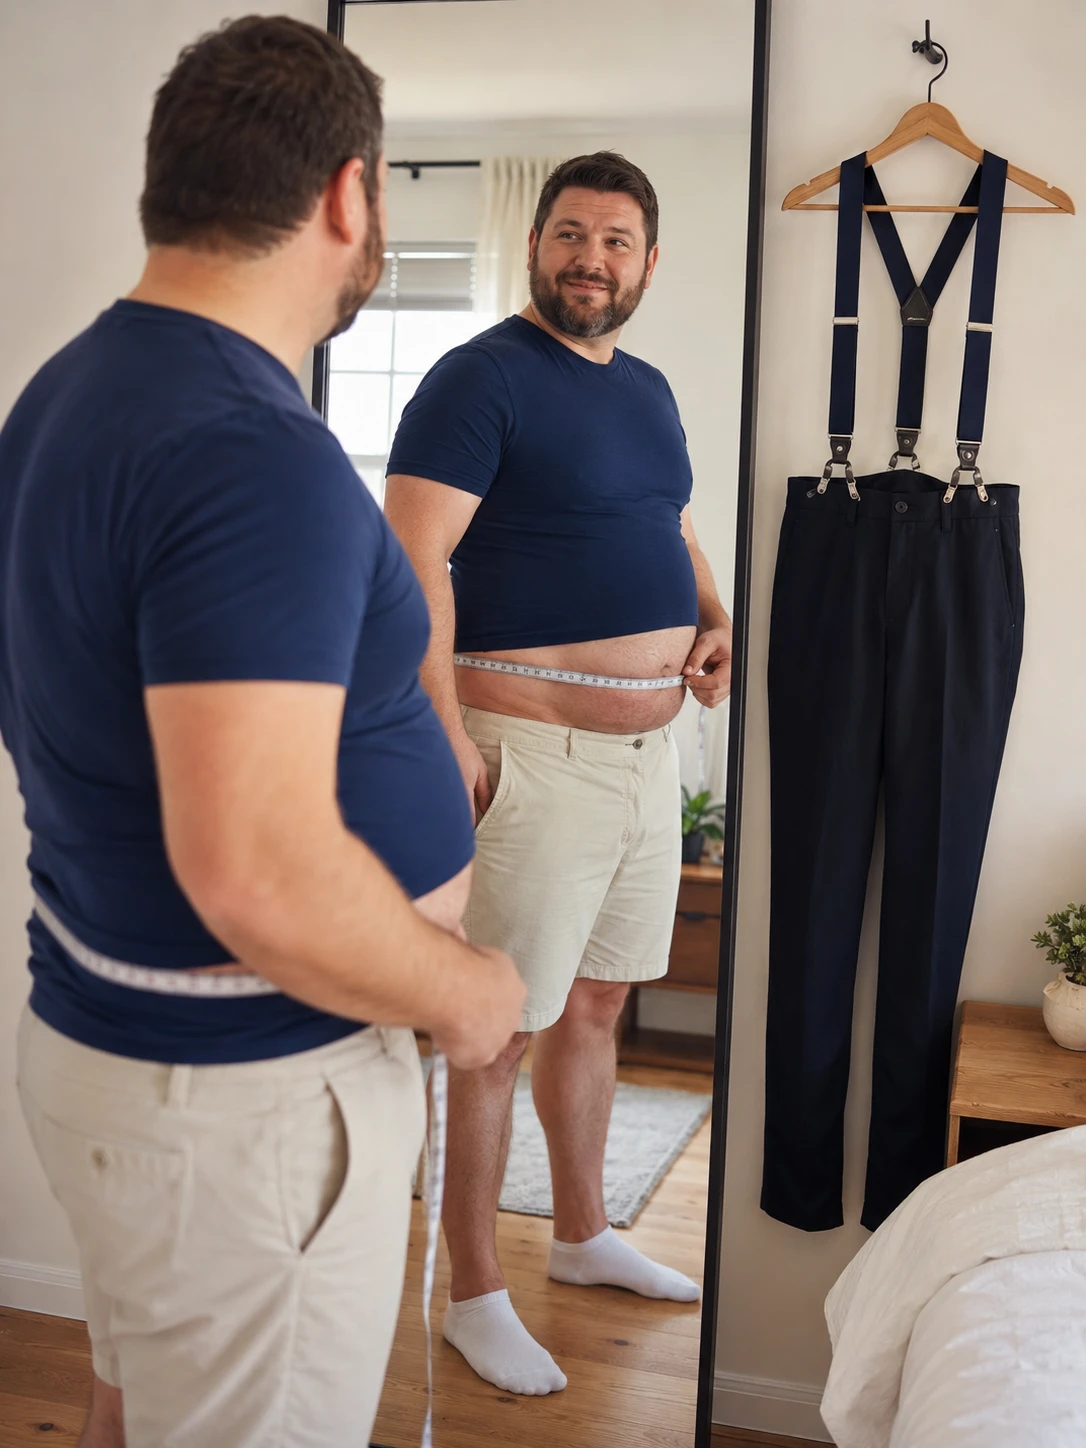
| Belly | Around the widest stomach point | Prevents button gaps and tight midsections |
| Sleeve | From back neck to wrist | Keeps cuffs from sitting too short or too long |
| Real Waist | Where pants actually sit | Gives a more honest pants size |
| Seat | Around the widest hips and butt | Stops pants from feeling tight when sitting |
| Thigh | Around the thickest upper thigh | Helps avoid tight, uncomfortable jeans |
| Inseam | From crotch to desired hem | Helps pants break cleanly over shoes |
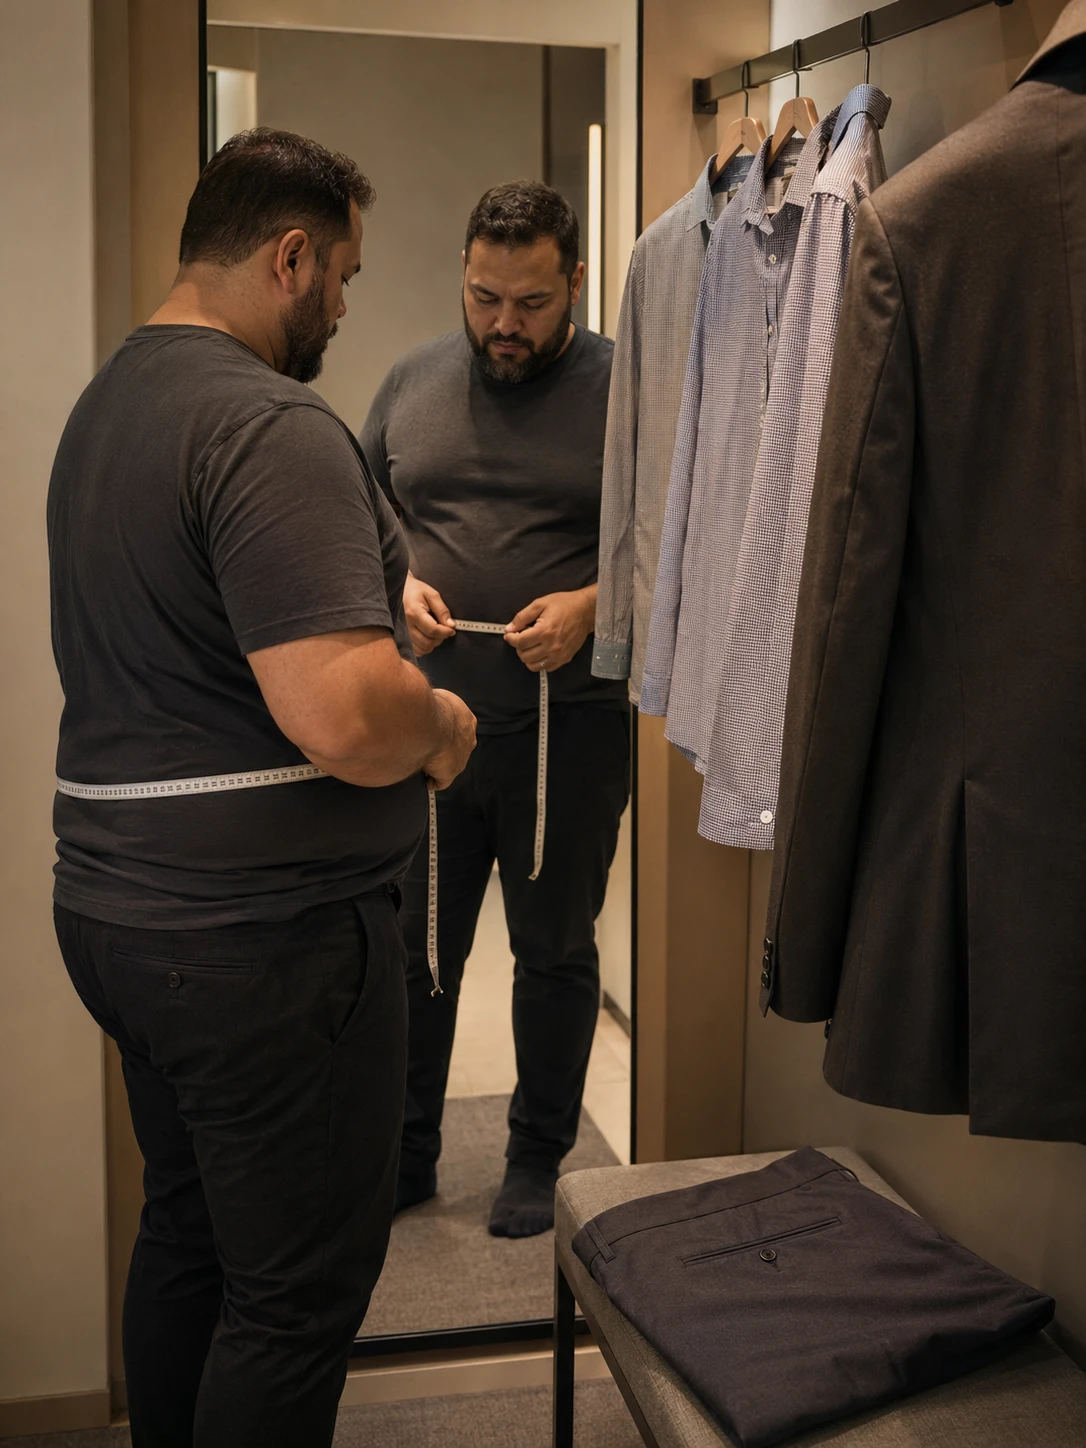
Get Set Up So Your Measurements Are Honest, Not Smaller Than Real Life
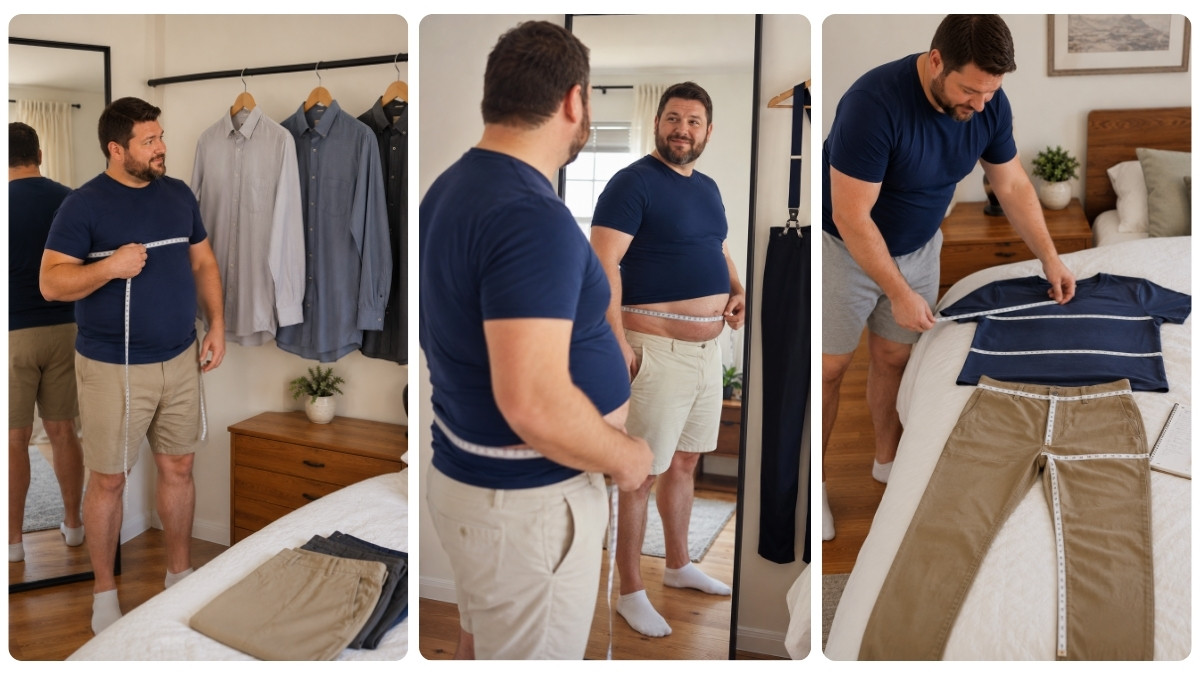
Your first measurement should be the real number, not the number you wish would fit. Wear a thin T-shirt and light shorts, or wear over underwear if you feel comfortable. Bulky layers, belts, wallets, and thick waistbands can add false inches or hide where your body actually sits. Stand tall, but stay loose. Relax your shoulders. Breathe like normal.
Do not suck in your stomach. That smaller waist number may feel better for five seconds, but it can lead to pants that pinch, shirts that pull, and jackets that never close cleanly. Hold the tape flat against your body, snug enough to touch your skin, but not so tight that it digs in.
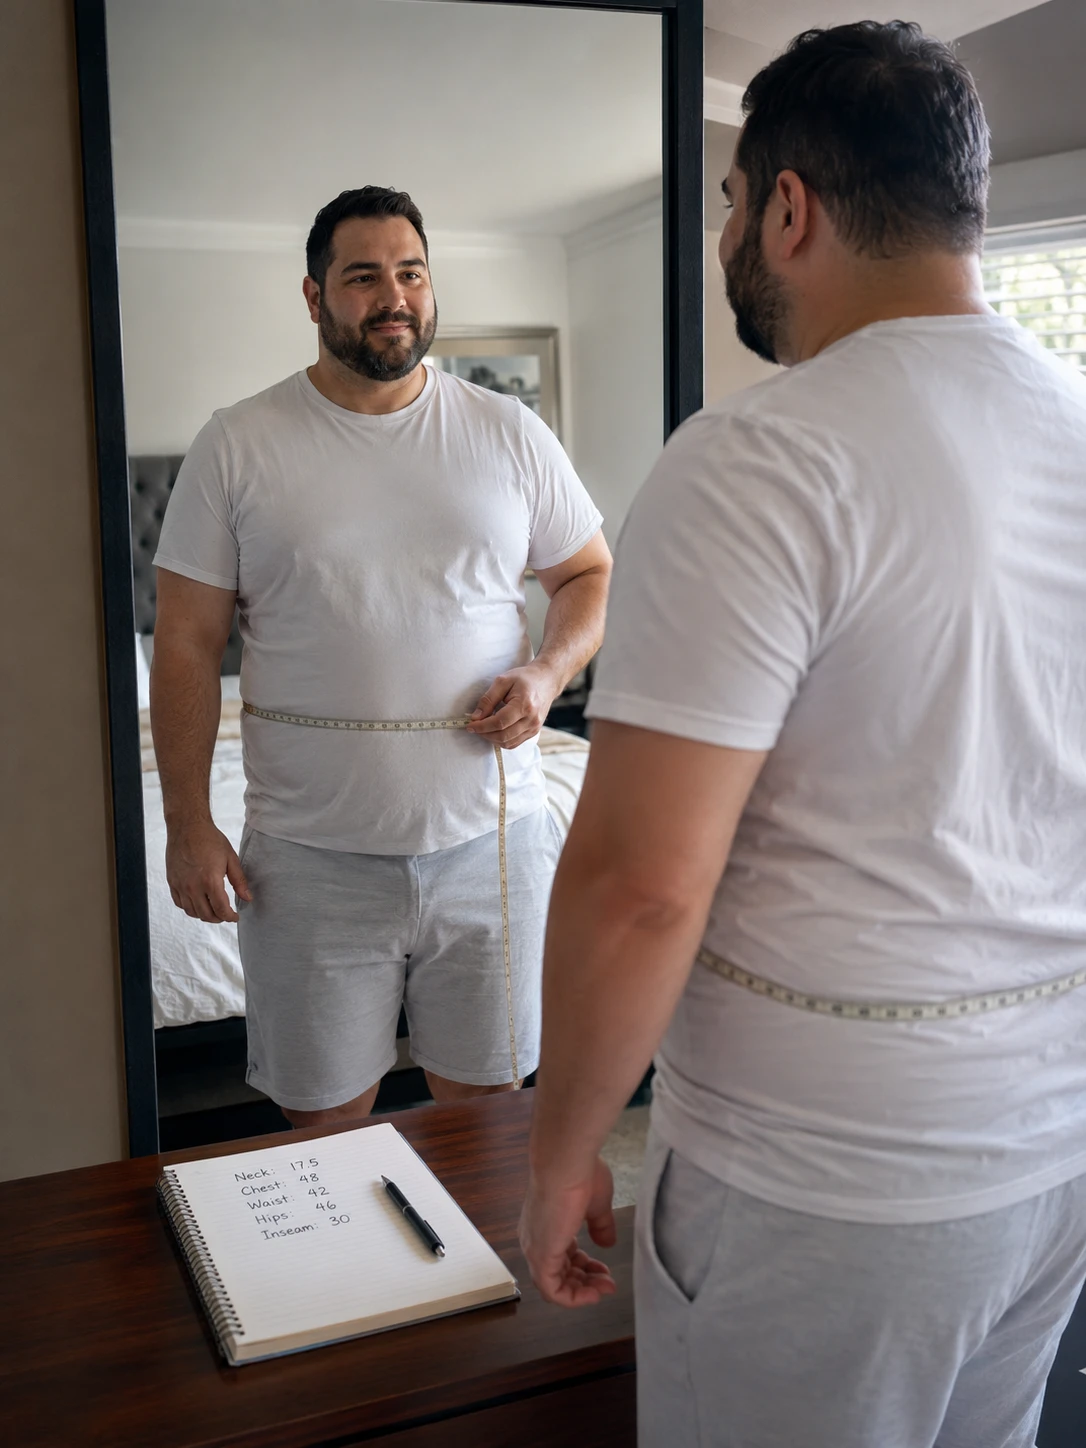
Use a mirror to check the back of the tape. Ask for help if you can. The tape should stay level all the way around, not tilt up in back or slide down in front. Write the exact number first. Round later for comfort, brand size charts, or fit preference.
Essential Upper Body Measurements
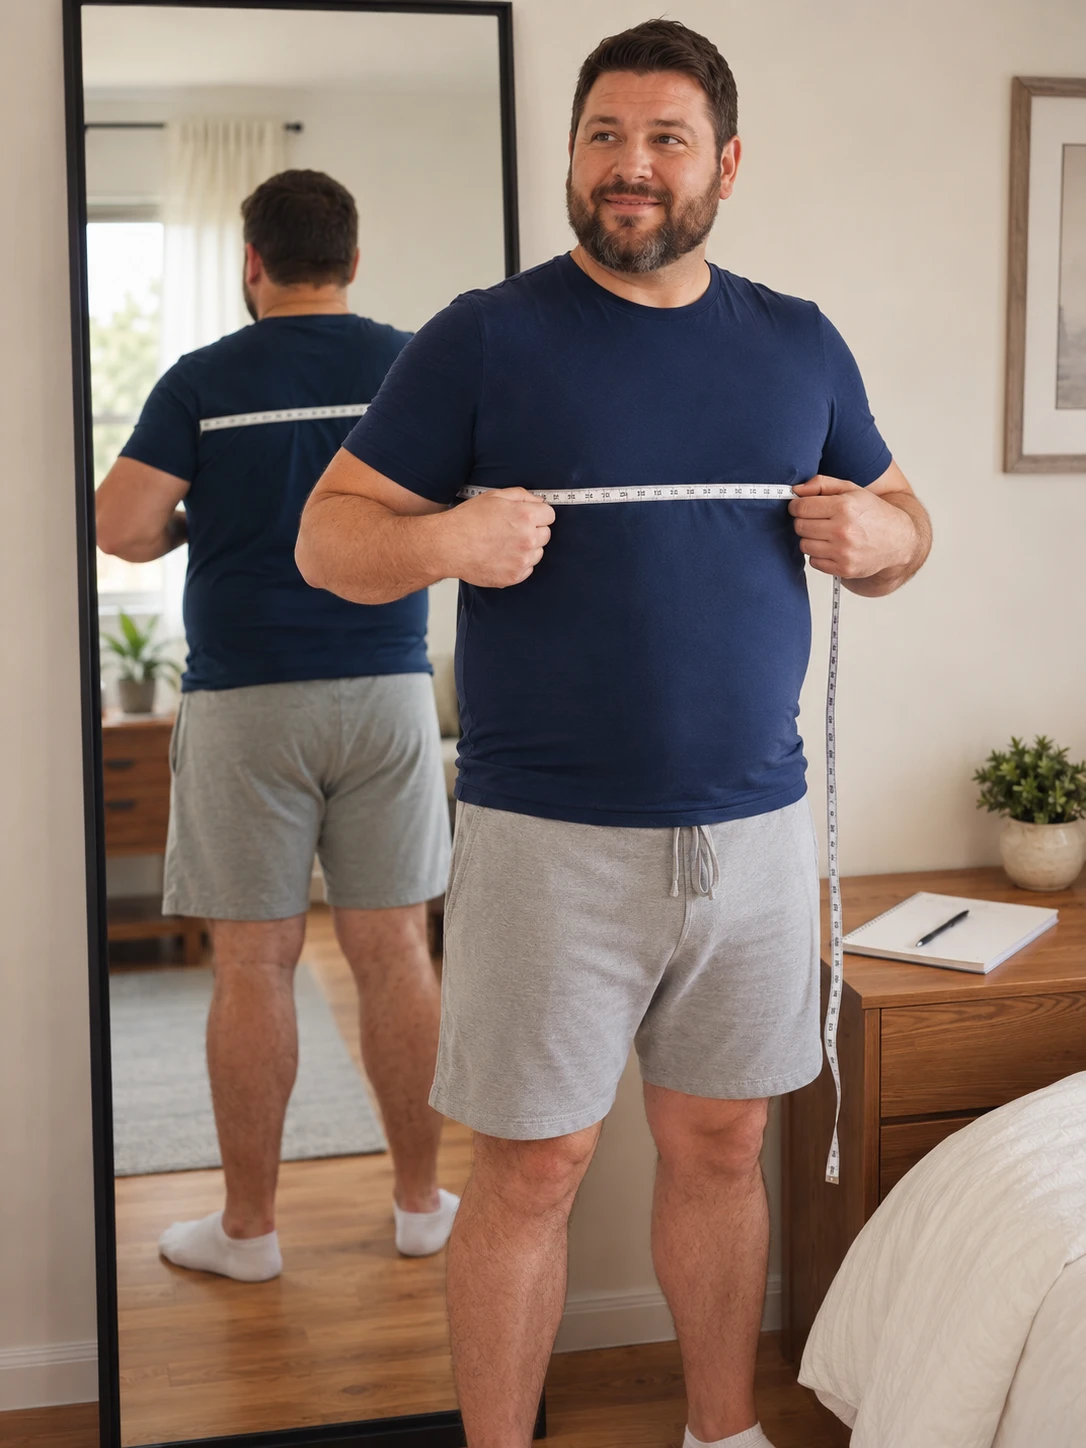
The widest point matters most. Start with your neck, placing the tape at the base where a collar sits. Slide two fingers under the tape so the collar can close without choking you.
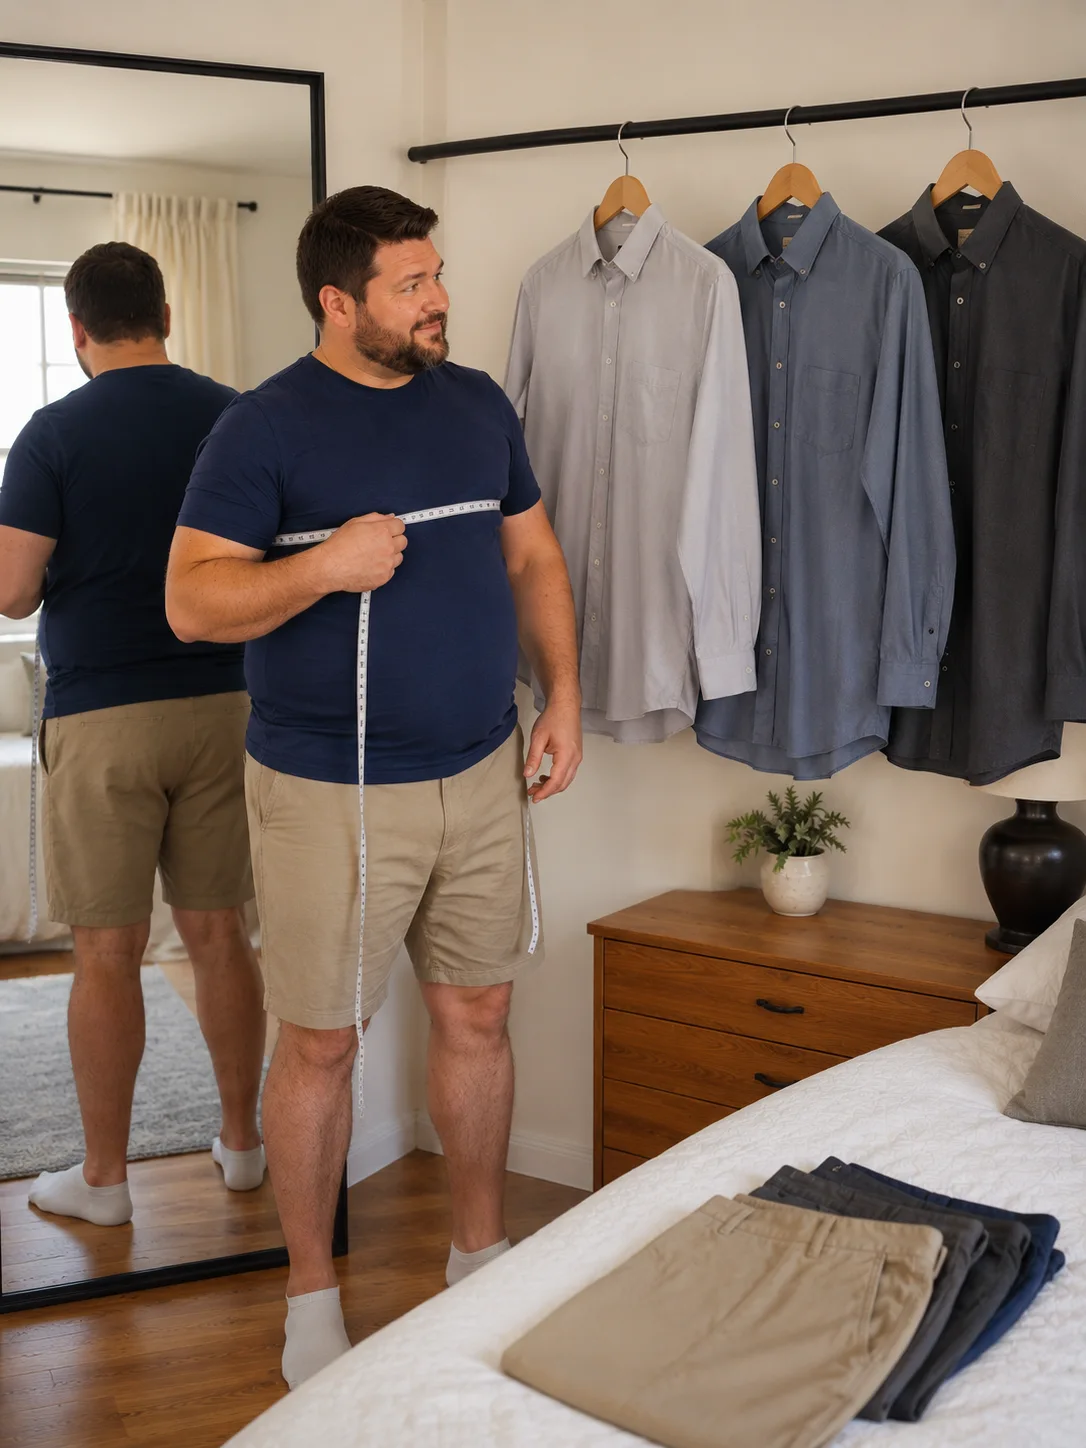
For your chest, wrap the tape under your arms and around the fullest point, keeping it level across your back. Measure your belly at the widest part of your stomach, because many shirts pull there before they pull at the chest. Across your shoulders, measure from one shoulder seam point to the other across the back.
- Neck: Wrap the tape around the base of your neck where a buttoned collar naturally sits, keeping two fingers inside the tape for a comfortable fit.
- Chest: Feed the tape under your armpits and wrap it around the widest, fullest part of your chest and across your shoulder blades.
- Stomach / Belly: For plus-size builds, the widest part of your torso is often your belly rather than your chest. Measure around the apex of your stomach (usually across the belly button) to ensure shirts do not pull tight or button-gap at the midsection.
- Sleeve Length: Place one hand on your hip with your arm slightly bent. Measure from the prominent bone at the center back of your neck, out to your shoulder point, and down past your elbow to your wrist bone.
Essential Lower Body Measurements
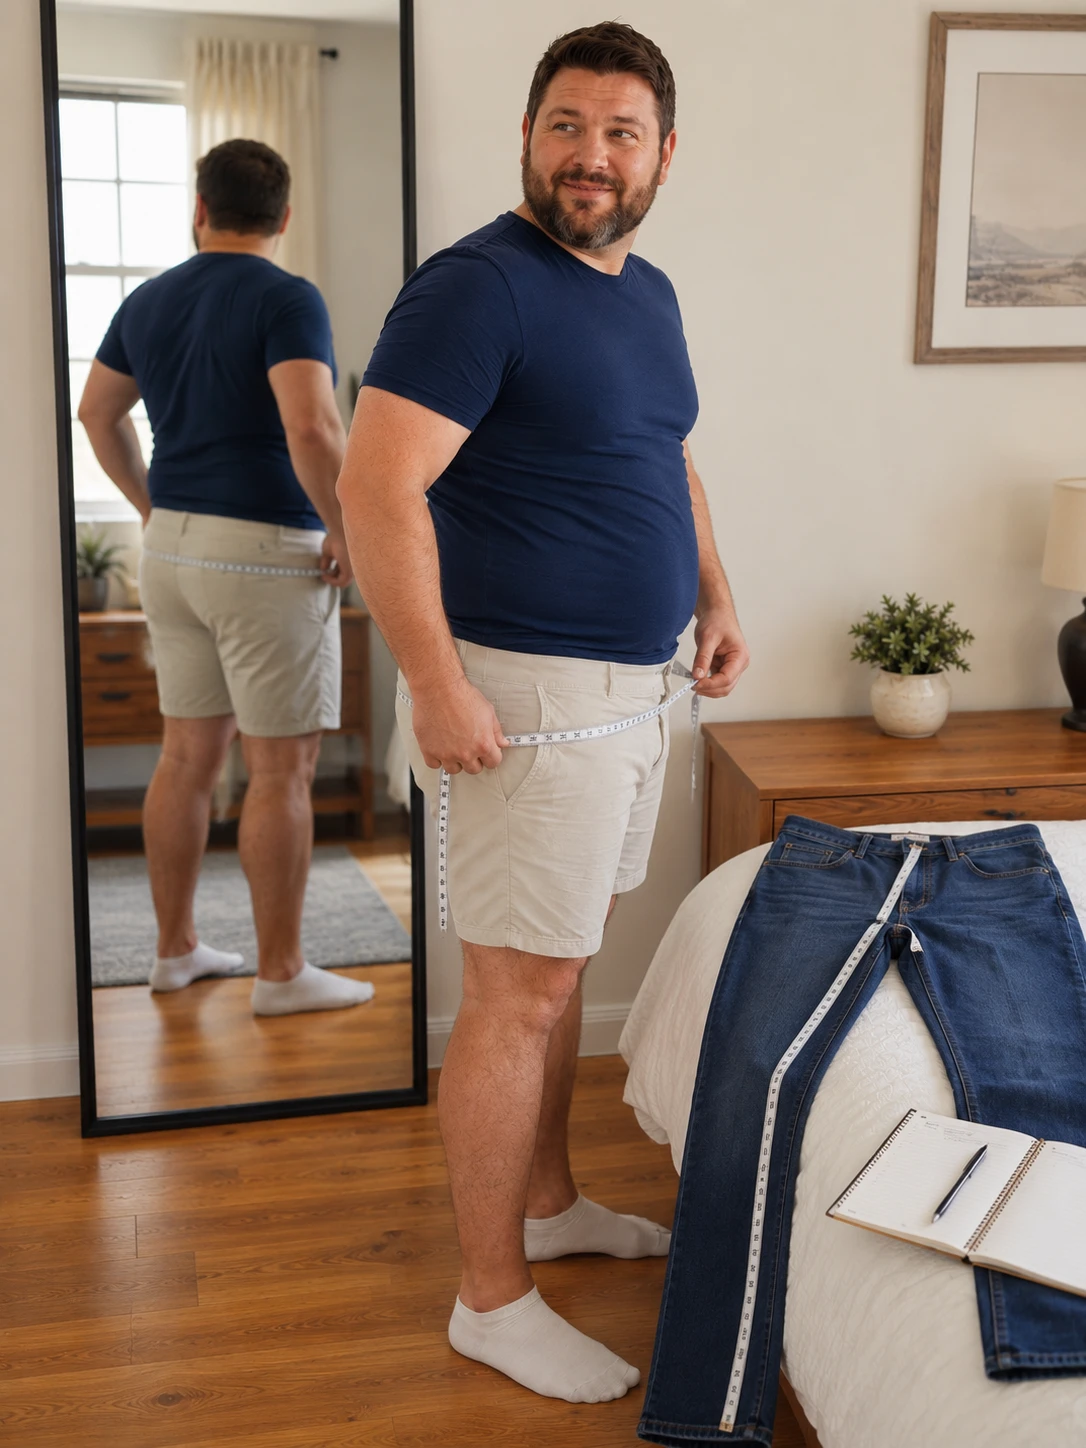
Your pants waist is not always your belly-button waist. Measure the line where the waistband will really sit.
Wear pants under your belly? Wrap the tape around that lower line, usually across the top of your hips and under the fullest part of your stomach. This number helps you buy jeans, chinos, or casual pants that match the way you already dress.
Choose the over-belly number only if you plan to wear trousers higher on your body, near the fullest part of your midsection. That fit can look cleaner because the shirt and pants make one smoother line, but it usually needs a higher rise so the crotch does not pull or drop.
Measure Seat, Thigh, Rise, and Inseam Before Buying Jeans or Chinos
The waist number can lie. A pair of jeans may close fine, then pull across your seat, pinch your thighs, or sit too low when you bend. Start with your seat by wrapping the tape around the widest part of your butt and upper hip area.
Stand relaxed. Next, measure one thigh at the thickest point, close to the top of the leg, without digging the tape into your skin. Rise matters more than most men think because it decides where the waistband sits and how much room you get through the belly, seat, and crotch.
Measure it on pants that already feel good by running the tape from the crotch seam up to the top of the waistband. For inseam, measure from the crotch down the inside of your leg to your ankle, or to the hem length you actually want. Write these numbers beside your waist size before you shop.
- Waist: Do not measure where you wish your pants sat; measure where you actually wear them. If you wear your trousers under your belly, measure tightly around that lower waistline. If you wear them over your belly with suspenders, measure around the fullest part of your midsection.
- Hips / Seat: Stand with your feet hip-width apart and empty your pockets. Wrap the tape firmly around the widest part of your buttocks and upper thighs.
- Thigh: Measure around the thickest part of your upper thigh to ensure standard pants do not strangle your legs.
- Inseam: Measure from the lowest point of your crotch seam straight down the inside of your leg to the ankle bone or your desired pant hem length
Use a Favorite Shirt or Pants as a Backup Measurement Method
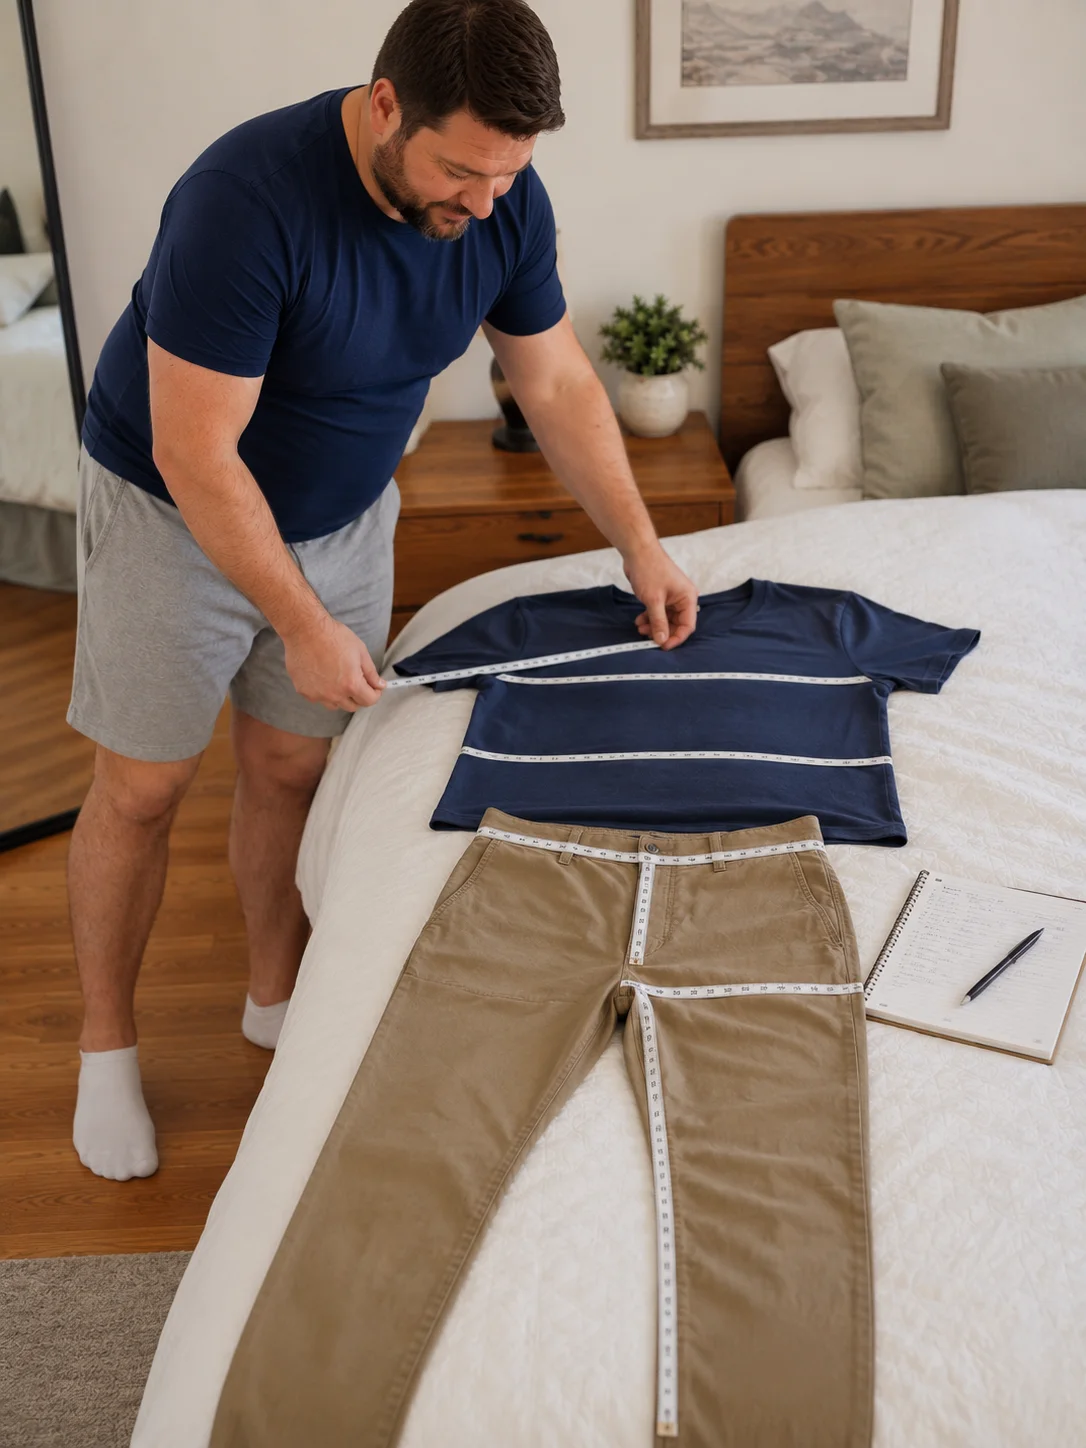
Your best backup tool may already be in your closet: one shirt or pair of pants that fits without pulling, squeezing, or hanging like a tent. Lay the item flat on a bed or table, then smooth it with your hands. Do not stretch it.
Button the shirt or pants first. For a shirt, measure straight across the chest, then across the belly area where your stomach needs room. Across the top, measure shoulder seam to shoulder seam. Measure the sleeve from the shoulder seam to the cuff.
On pants, measure the waist straight across the top, then double that number. Pants need more checks. Close the zipper and measure the rise from the crotch seam to the top of the waistband, the thigh across one leg, and the inseam from the crotch seam to the hem.
Understand Big vs Tall Before You Pick 2XL, 2XLT, or 2XB
Width and length are different problems. A 2XL, 2XLT, and 2XB can sound close, but they are not built for the same body. Tall sizes are made for extra length, so they usually help when your shirt rides up as you reach, sit, or bend.
That matters a lot. Big sizes add more room through the neck, chest, belly, and waist, which often works better if you are wider but not very tall. Pick Big when regular shirts fit short across the belly or pull at the buttons, but the sleeves are already close.
Pro Tips for Accurate Sizing
- Flat-Garment Method: If you have a favorite shirt or pair of jeans that fits flawlessly, lay them flat on a table and measure them directly. Compare these garment specs to online listings.
- Know Big vs. Tall: If a brand offers “Big” (e.g., 2XLB) and “Tall” (e.g., 2XLT) options, keep in mind that “Big” sizes add width to the neck, chest, and waist, while “Tall” sizes keep standard body widths but lengthen the sleeves and shirt tails.
- Check the Cut: Look for words like “Relaxed Fit” or “Athletic Fit” which offer extra room in the thighs and shoulders without requiring you to size up into a garment that is too long
Watch for Red Flags Before You Keep or Return the Clothes
- Shirts should not gap at the belly, choke at the neck, droop at the shoulders, or balloon under the arms.
- Pants should not dig into the thighs, slide under the belly, crush the seat, or sag at the crotch.
- Jackets should close smoothly, sit clean on the shoulders, and let you move without tight pulling.
- Save your key measurements in your phone: neck, chest, belly, shoulder, sleeve, waist, seat, thigh, rise, and inseam.
Common Fit Problems and What to Check First
| Fit Problem | Most Likely Cause | What to Check |
| Belly measurement is larger than the chest | The shirt is sized up too far | Measure the widest stomach point |
| Shirt shoulders droop | Pants slide under the belly | Check shoulder seam placement |
| The waistline is measured too high | Waistline is measured too high | Measure where pants actually sit |
| Pants feel tight when sitting | Seat or thigh is too small | Check seat and thigh measurements |
| Jacket makes an X shape | Midsection is too tight | Check belly and jacket button area |
| Sleeves cover the hand | Size is too big or not a tall fit issue | Check sleeve length separately |
| Jeans fit waist but crush thighs | Cut is too narrow | Try athletic or relaxed fit |
| Shirt feels too short | Body length is not enough | Shirt buttons pull at the belly |
Hello there! I’m Jesse Joe, the author and editor behind SolganGenius. I’m thrilled you’ve stopped by, and I can’t wait to share with you the essence of what this platform is all about.
I’m a writer, social media enthusiast, and a firm believer in the power of words. I’ve always been fascinated by how a simple phrase or slogan can capture an emotion, convey a message, and even change perspectives. Learn More